Curd Chicken Tikka Sandwich
by Viruthiga Veni
Loading rating...
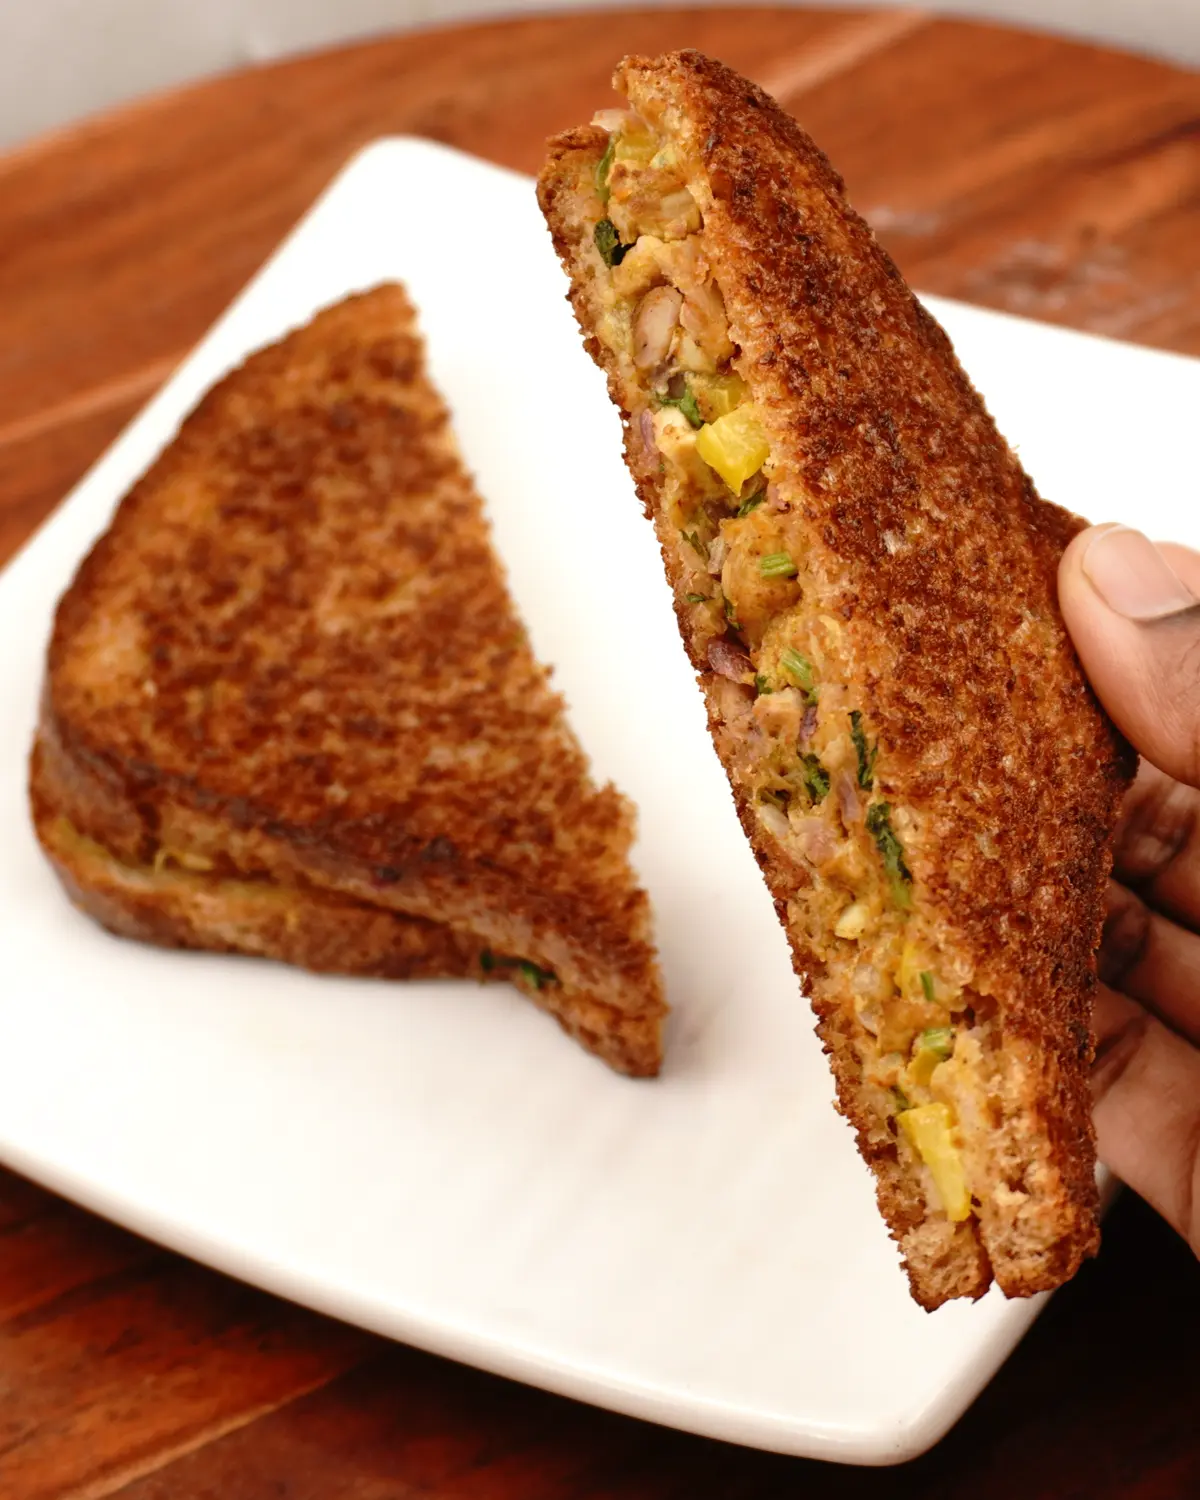
This sandwich features tender, chopped chicken tikka mixed with thick curd and crisp, fresh vegetables. Pressed and toasted in ghee, it’s a crunchy, savory treat that’s perfect for any time of day.
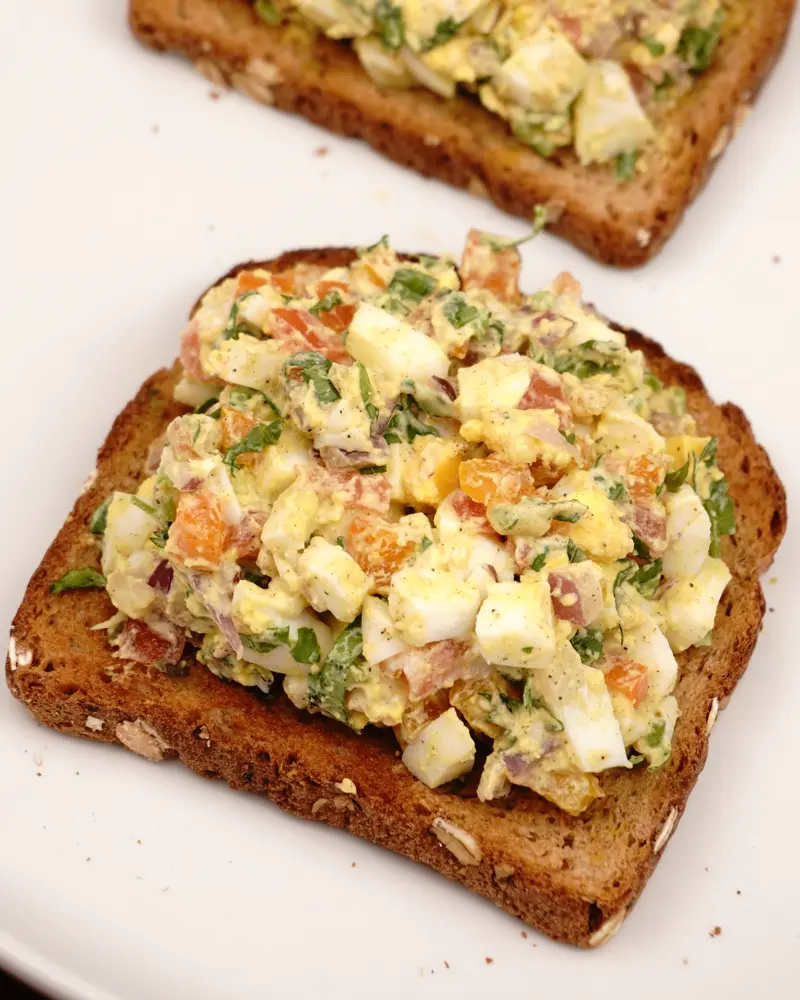
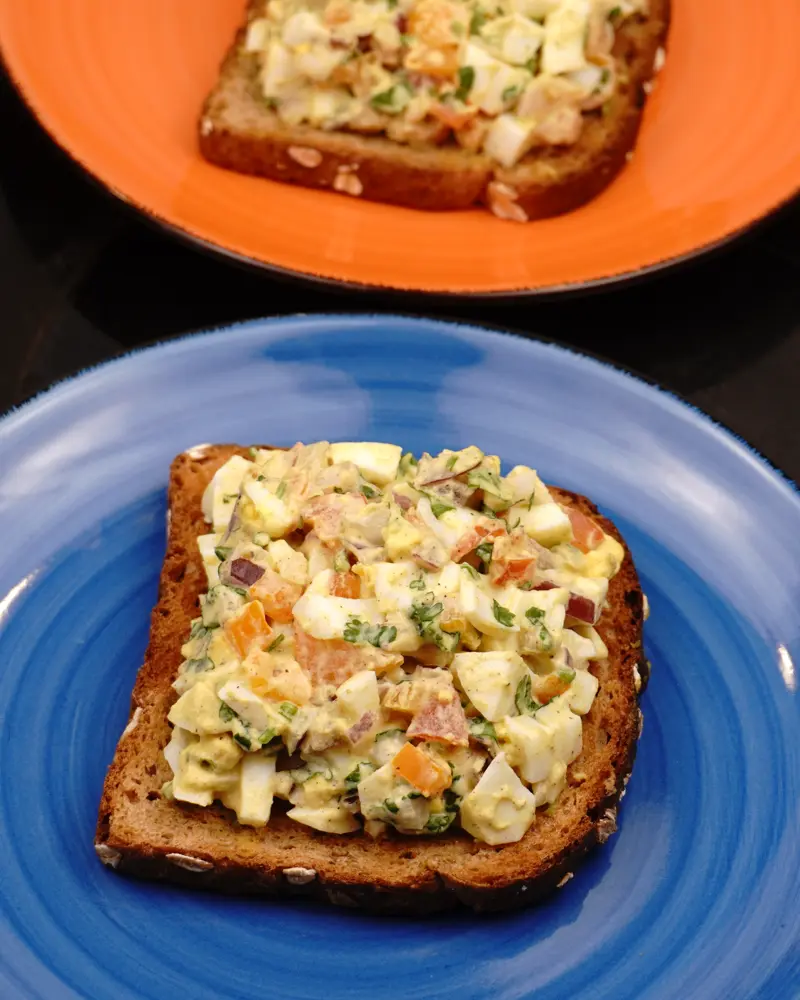
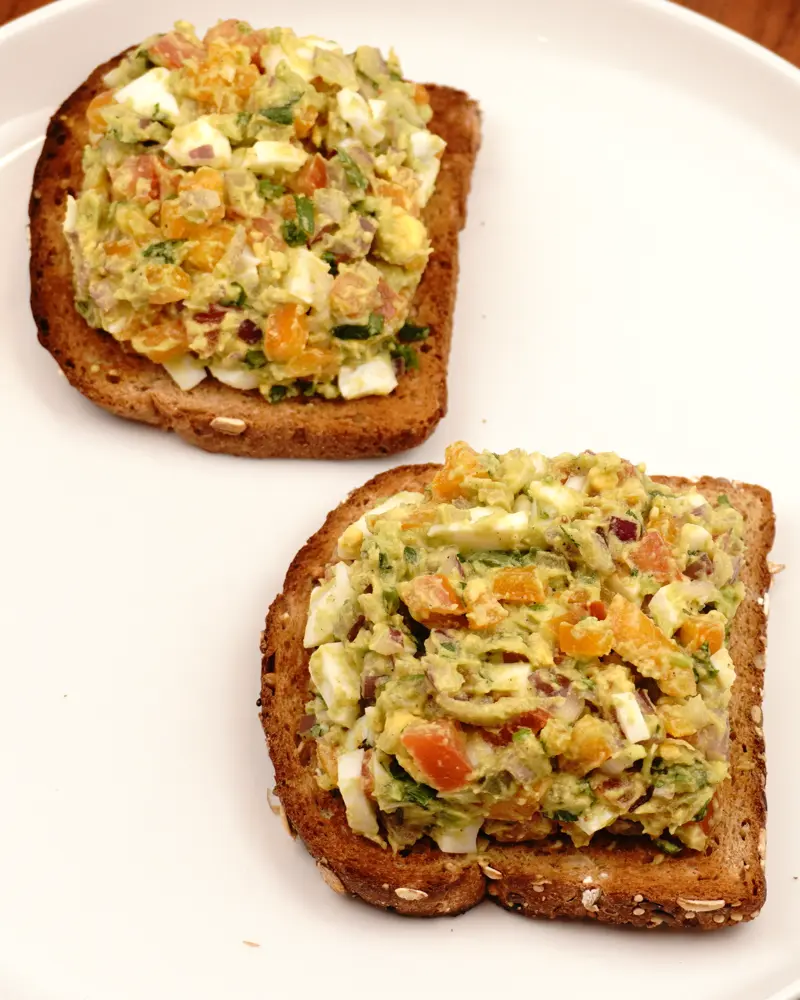
For a low-calorie version, try a Curd Chicken Open Sandwich, Curd egg veggie salad open sandwich.

Ingredients
Boneless skinless chicken thighs – 250 g
Whole milk thick curd/yogurt – 5 to 6 tbsp
Chili powder – 3/4 tsp
Garam masala powder – 1/2 tsp
Chaat masala powder – 1/2 tsp
Turmeric powder – 1/4 tsp
Garlic – 2 to 3 cloves
Ginger – 1/2 inch
Green chili – 2 to 3 nos.
Bread – approx. 8 slices
Onion – 60 g (medium size half)
Capsicum – 60 g (medium size half)
Lime juice – 1 tsp
Chopped coriander leaves – 1 to 2 tbsp
Ghee – as required
Salt – approx. 3/4 tsp
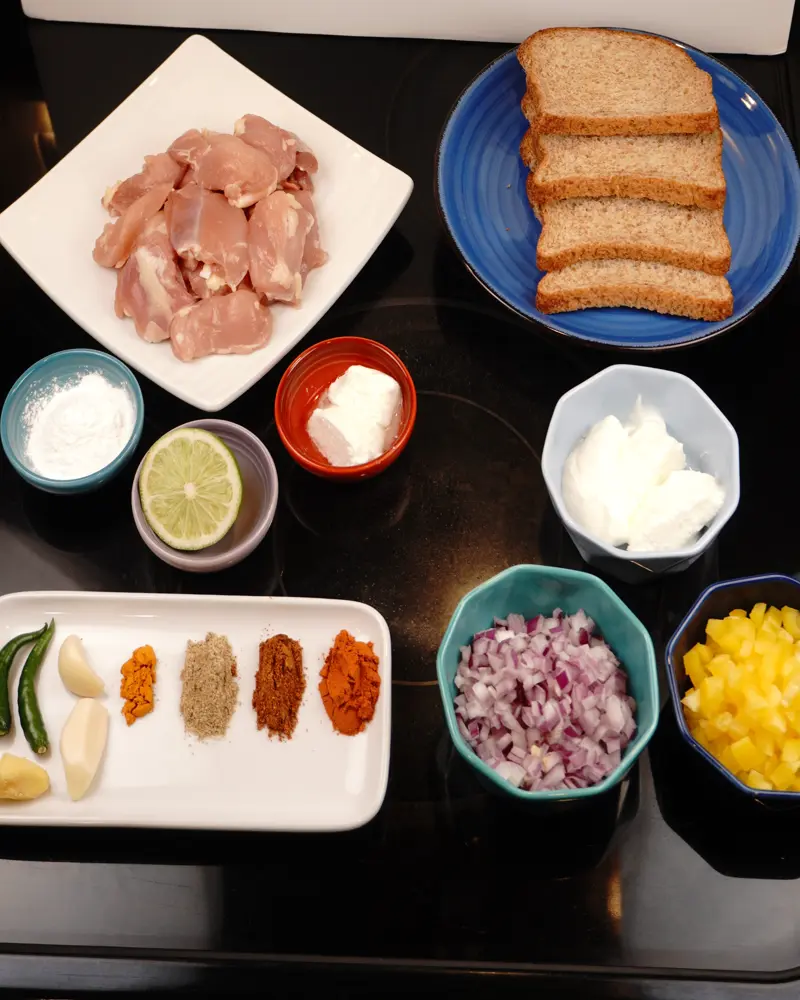
Gather and Prepare Ingredients
Ginger, Garlic, and Green Chili : Wash and dry the ginger and green chilies. Peel the ginger, skin the garlic cloves, and remove the stems from the chilies before blending.
Ground Spices : I used Everest brand Garam Masala and Chaat Masala powders. The chili and turmeric powders are homemade.
Bread - I usually choose thin-sliced sprouted whole grain bread, but it wasn’t available this time, so I picked regular whole grain bread instead. Other healthy options include sourdough, whole wheat, oat or sprouted rye bread.
Wash, Dry, and Fine Chop Veggies : Don’t skip the prep! Wash your veggies—the onion, capsicum, and coriander—and dry them thoroughly with paper towels before you begin to chop.
Note: Ensure the vegetables are completely dry before you begin to chop them. This ensures extra moisture doesn't make the sandwich soggy or water down the flavor. Additionally, chopping them very small is the secret to a perfect sandwich.
How to prepare hung curd in two ways
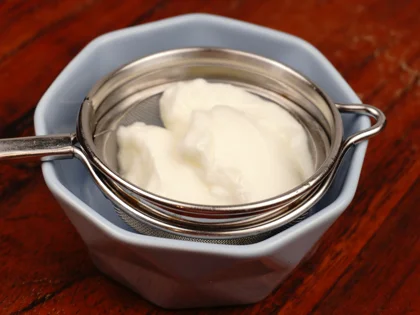
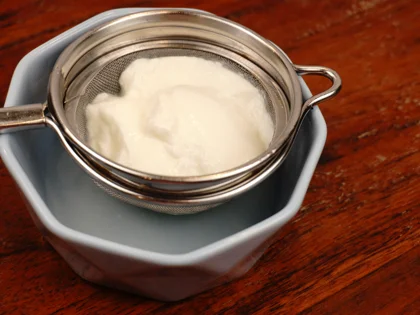
Strainer Method (A): Place a fine strainer over a bowl and add 4 to 5 tbsp of yogurt. Letting it sit for 1 to 2 hours creates a standard thick consistency, while straining it for 3 to 5 hours removes maximum liquid to give a richer, creamy taste. Choose your consistency depending on your preference. (Note: Place in the refrigerator if leaving it for more than 2 hours to prevent souring).
Quick Cloth Method(B): Spoon 4 to 5 tbsp of yogurt onto a clean muslin cloth and gather the edges. Give it a light squeeze for a standard thick texture. For a richer, ultra-creamy taste and texture, squeeze out more liquid until it reaches your preferred consistency.
Using Whole-Milk Curd/Yogurt
Thick curd for Chicken Marination: Use thick curd or Greek yogurt. If your yogurt is runny, drain it in a fine-mesh strainer for 1 hour to remove the excess whey. If it is already thick, use it directly.
Hung curd for Sandwich Mixing: For a rich, creamy consistency, use hung curd. Strain yogurt/curd using Method A or Method B.
Prepare the Chicken Pieces
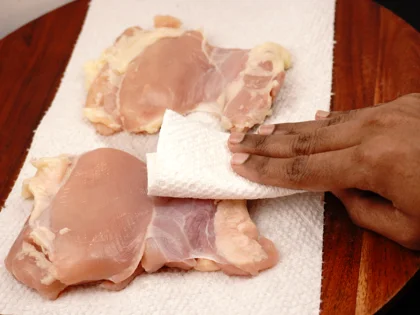
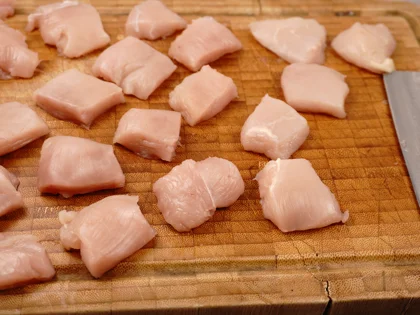
Dry and slice pieces
Pat dry - Gently pat the 250 gms chicken pieces dry using paper towels to remove surface moisture.
Slice same thickness - Use a sharp knife, cut the chicken thigh into small pieces. Aim for a uniform ¼-inch thickness so every piece cooks at the same time.
Making of First Marination
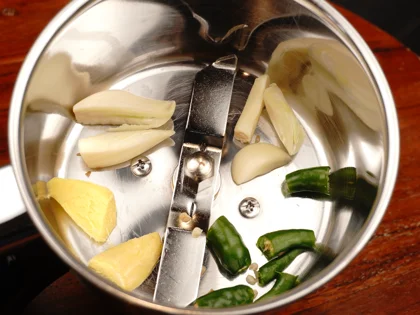
Prepare Ginger Garlic and Green Chili Paste
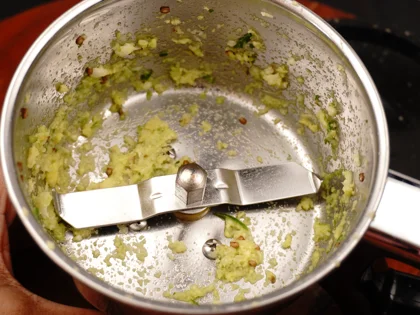
Place 1/2 inch ginger, 2 to 3 garlic cloves, and 2 to 3 green chilies in the jar and blend them into a coarse texture.
Note: If the pieces are too big, just chop them down a bit first so the standard blender can handle them easily.
Apply the marinade
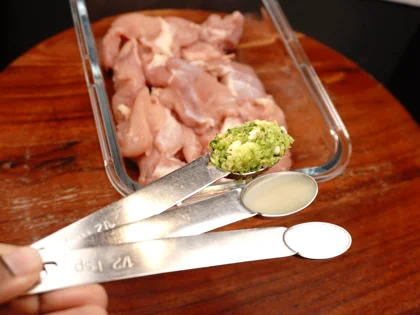
Add the following to your prepared chicken pieces
1 tsp lime juice
Prepared ginger, garlic, green chili paste
1/2 tsp salt
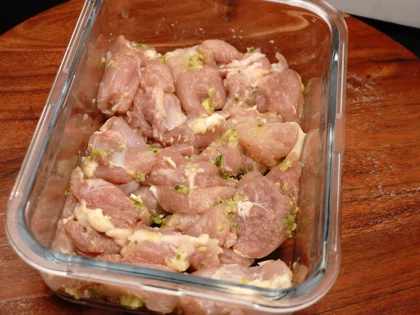
Even Distribution - Instead of pouring the ingredients in one spot, sprinkle them evenly over the chicken pieces. Use your hands to massage the paste, lime juice, and salt into each piece until thoroughly coated.
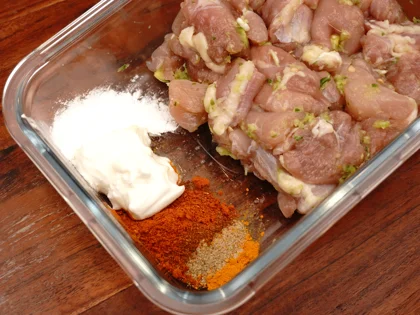
Making of Second Marination
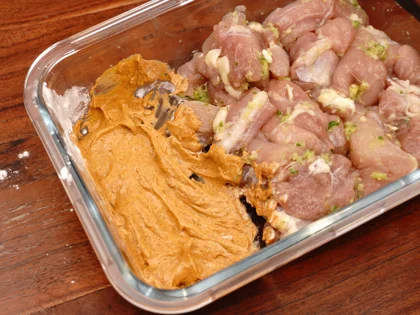
Prepare and apply the second marinade
Clear the Space : Use a spoon to move the marinated chicken to one side of the bowl to create space.
Make the Marinade in the empty space : Add the following ingredients amd mix well.
30 grams ( 2 tbsp) whole milk thick curd
4 grams (1/2 tbsp) cornstarch
1/4 tsp turmeric powder, ½ tsp chaat masala powder, ½ tsp garam masala powder, 3/4 tsp chili powder.
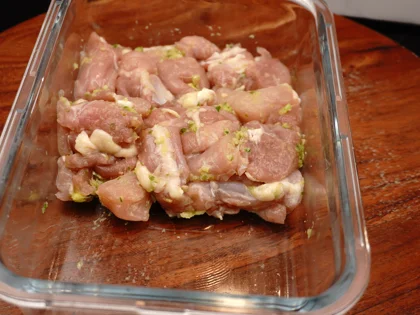
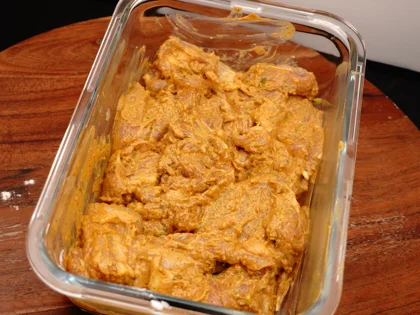
Even Distribution - Using your hands, coat each piece of chicken evenly with the marinade. Repeat this process for the remaining pieces until everything is well-coated.
Chill - Cover the bowl and let the chicken marinate for at least 1 hour to allow the salt to penetrate the meat.
Pan Selection and Cooking Spacing Guide
Why Use Non-Stick: It allows you to cook the chicken with less oil, prevents the meat from sticking, and makes cleanup much easier.
Option 1: High-Quality Ceramic Non-Stick (Medium Heat): A premium ceramic coating safely works at medium heat. Leave plenty of space between the chicken pieces so moisture can escape, helping you attain a light brown color.
Option 2: Hybrid or Seasoned Carbon Steel (Medium-High Heat): If using these durable pans, you can safely use medium high heat and leave a little space between the pieces while still achieving a light brown color.
Pro Tip for Maximum Crunch: For the crispiest crust, use a heavy cast iron skillet on medium-high heat.
Cooking of Chicken Tikka in Nonstick Pan
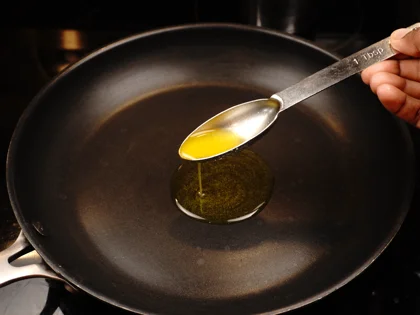
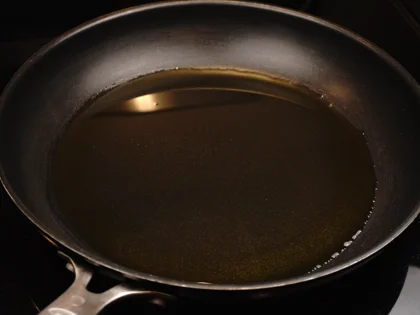
Heat a thin layer of ghee in the nonstick fry pan
Ghee the pan - Add 2 tbsp liquid ghee to the pan. Swirl the pan evenly to spread ghee to the entire surface of the pan. The usage of tbsp of ghee depends upon the size of your pan.
Preheat- Preheat the pan for about 5 to 7 minutes over medium flame.
First Side: Achieve a Brown/dark brown
Note: I used a ceramic non-stick pan at medium heat for this recipe.
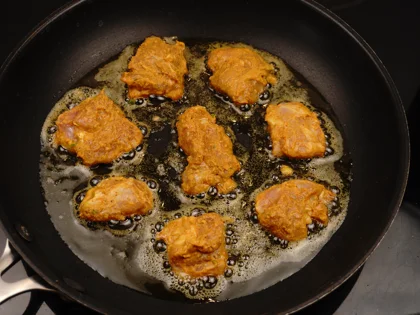
Listen for the Sizzle - Heat the pan over medium heat until it is hot, but not very hot. When you add the chicken, you should hear a sizzling sound; this confirms the pan is ready.
Space them Out: Arrange the patties with plenty of space between them to ensure even cooking and attain brown/ dark brown crust.
The 4 Minute cook : Cook for about 4 minutes without moving them. This allows a brown/drak brown crust to form.
Check and Flip: Use two spoons to quickly peek at the underside by lifting the edge of the chicken piece. Once a brown/dark brown is achieved, flip them over.
Second Side: Achieve a Brown/dark brown
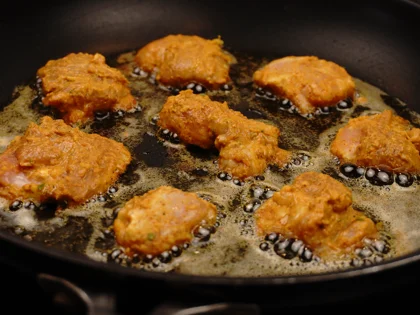
Medium Heat: Since the chicken pieces are thin (about ¼-inch), cook them on medium heat from start to finish.
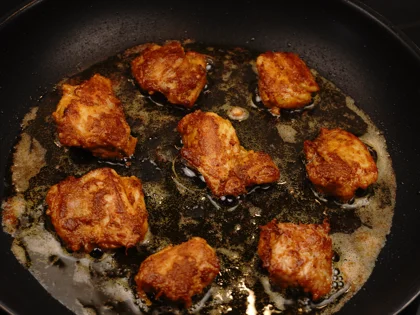
Flip and Cook: Once the first side is nicely browned, flip the pieces and continue to cook the second side for about 2 to 3 minutes.
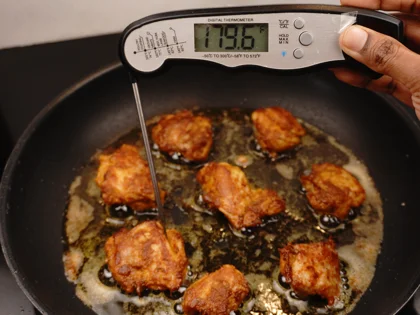
Check for Doneness: Use a food thermometer to aim for an internal temperature between 165°F and 180°F at the thickest part to ensure the chicken is safe, fully cooked, and juicy.
Total Time: The total cooking time is usually 6–7 minutes per batch.
Timing Will Vary: Keep in mind that exact timing depends on the thickness of your chicken pieces, the type of cookware you use, and your stove's heat levels.
Prepare Chicken Tikka Pieces
Drain and rest
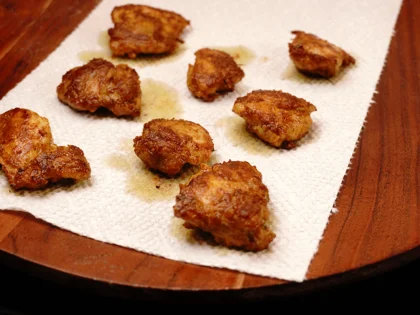
Drain and pat dry- Place the cooked pieces on a plate lined with paper towels. Use an additional paper towel to gently pat all sides of the pieces to absorb the surface oil.
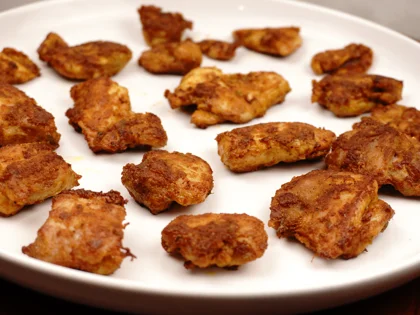
Transfer and cool down- Quickly move them to a fresh plate. Let the tikkas sit for 5 to 10 minutes. This allows them to cool down before you start chopping.
Chop in to pieces
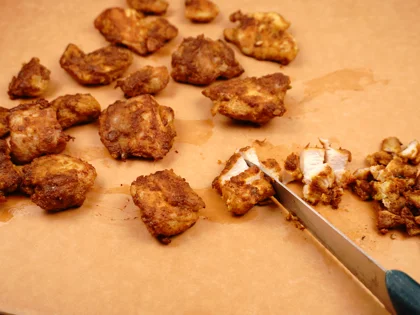
Make Small pieces - Place the cooled chicken on a cutting board. Cut the chicken into small pieces so they are ready for the stuffing.
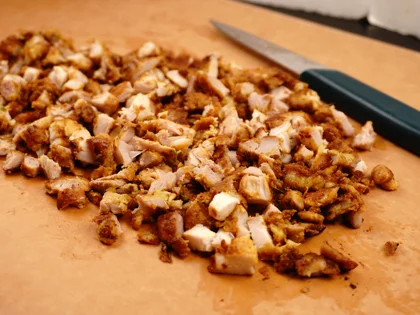
Prepare Chicken Tikka Stuffing
Prepare Stuffing
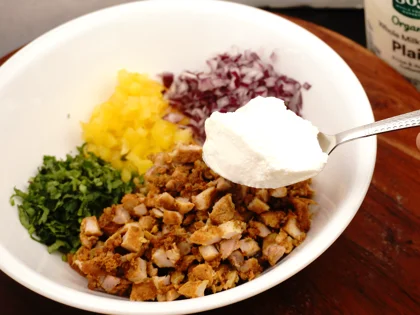
Prep the Base : Take your prepared chopped chicken tikka pieces and place them in a large mixing bowl.
Combine Ingredients : Add the chopped onion (60g), capsicum (60g), coriander (2 tbsp), and Whole milk thick curd (2–3 tbsp).
Note : For a richer, creamier consistency, use hung curd/yogurt (simply strain regular curd/yogurt through a cheesecloth or fine strainer to remove the excess water).
Note on Texture: Ensure the chicken has reached room temperature before combining. Mixing it while even slightly warm will change the curd/yogurt structure, turning your stuffing watery.
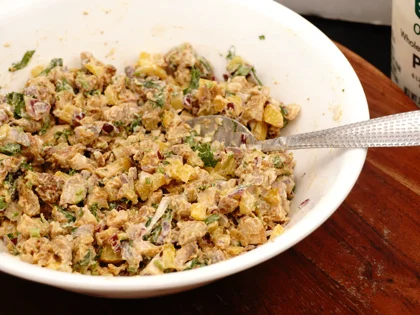
Mix : Fold the mixture gently until every piece of chicken and vegetable is evenly coated.
Note: Taste and adjust : If needed, add salt and spice (such as pepper, red chili flakes, or chopped green chilies) to bring out the flavor and achieve your preferred spice level.
Assemble the Sandwich
Stuffing the Bread
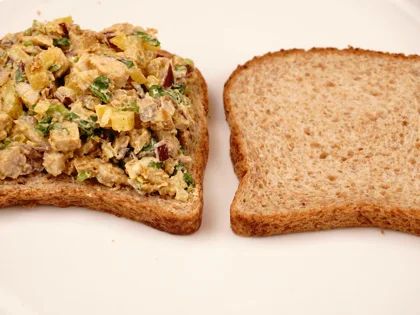
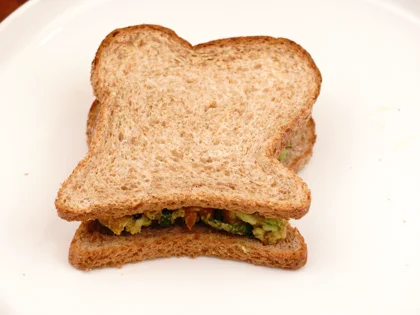
Prep the Bread and add the stuffing : Place two slices of bread on a clean plate. Scoop 2 to 3 tbsp of stuffing onto one slice. Spread it evenly over the bread.
Close it Up : Place the second bread slice on top.
Note : Leave a small border around the edges when spreading the filling. This prevents it from falling out when you apply pressure to the sandwich.
Toast the Sandwich in Cast Iron Pan
Cooking – The First Side
Preheat and oil
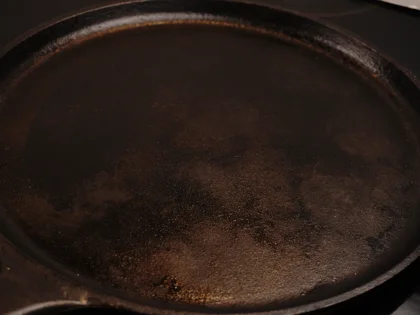
Heat the Pan : Place a cast iron pan over a medium flame. Let it preheat for 4 to 5 minutes until it is hot.
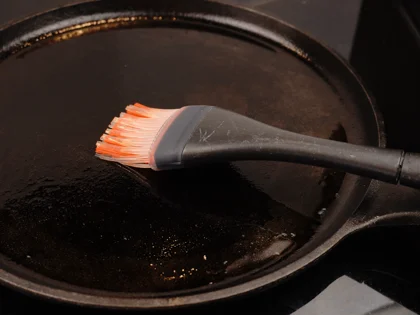
Add ghee : Once the pan is hot, add a little ghee and spread it around.
Apply ghee and place Into the pan
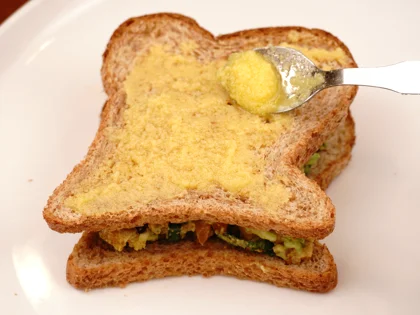
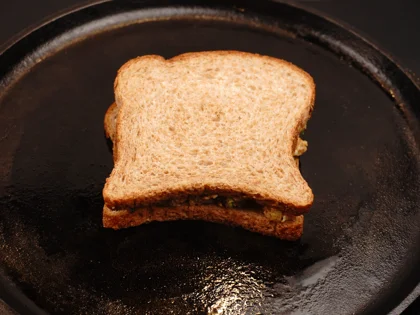
Ghee the Bread : Just before cooking, spread a thin layer of ghee on the top side of your sandwich.
Place Ghee Side Down : Place the sandwich onto the hot pan with the ghee-coated side facing down.
Cook for 4 to 5 Minutes : Toast over medium heat without moving the sandwich.
Note : Make sure the pan is hot but not very hot before placing the sandwich.
Cooking – The Press & Seal
Press, ghee and toast
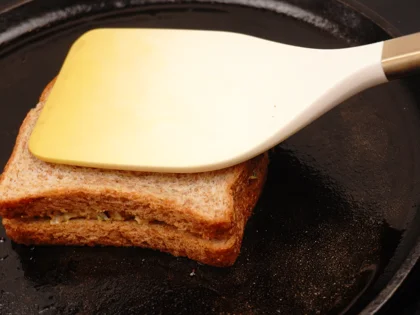
Press Down with Weight : Place a heavy, flat object—such as a potato masher, heavy lid, flat spatula, or even another pan—on top of the sandwich.
Firm Press to close edges : Press firmly across the entire surface. This helps close the bread edges together and ensures an even, dark brown crunch.
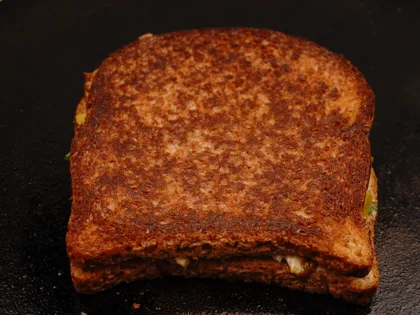
The peek test before flip : After about 4 minutes, use a spoon to gently lift the bread and check for a dark brown crust. Once it has formed, the sandwich is ready to flip.
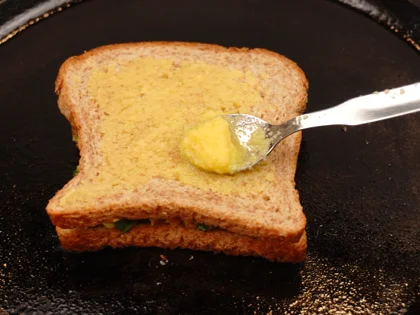
Ghee the top and flip : Just before flipping spread a thin layer of ghee on the top side of your sandwich.
Note : Do this heavy press immediately after placing the sandwich in the hot pan.
Cooking – The Second Side
Flip and finish
Toast the Second Side : Place the sandwich ghee-side down and cook for 2 to 3 minutes over a medium flame.
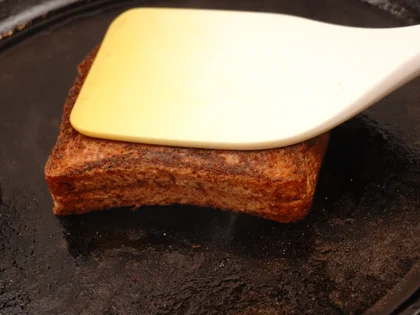
Repeat the Press : Use your weight (smasher or pan) to press the sandwich firmly again. This ensures both sides are equally crisp and the bread edges stay closed.
Check for Doneness : Peek underneath once more. Remove from the pan only when a dark brown crust has formed.
Note : The pan is already very hot, so the second side toasts much faster than the first side.
Serving
Ready to serve
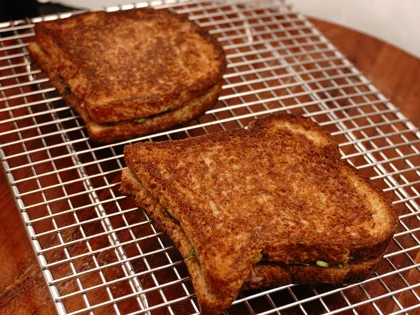
The Quick Rest : Transfer the sandwich to a wire rack or prop it up for 1 to 2 minutes. This allows steam to escape and keeps the crust perfectly crisp.
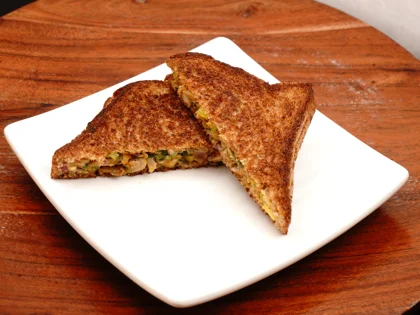
The Diagonal Cut : Place the sandwich on a clean board. Use a sharp knife to slice diagonally from corner to corner.
Serve Hot : Enjoy immediately while the crust is at crunch and the filling is warm.
Note : Do not leave the hot sandwich sitting on a flat board or plate for too long after toasting. This prevents the bottom of the bread from getting soggy.
Pro Tip: Color is Flavor
Prioritize a Dark Brown Finish:
While a golden-brown surface is good, the secret to maximizing depth of flavor is a rich, dark brown finish. Aim for deep, even browning across the entire surface of the bread. This dark brown finish guarantees a delicious, restaurant-quality sandwich that delivers the richest flavor.
Note : Just be sure to avoid any black color on the bread to prevent it from burning, which would create a bitter taste.
Tips
💡 For safety, always wash your onion, capsicum, and coriander leaves before preparation.
💡 Make sure to dry the veggies and coriander leaves thoroughly with a paper towel so the extra moisture doesn't affect the flavor and texture of the stuffing before you begin to chop.
💡 Finely chop the onion, capsicum, chicken, and coriander leaves. Keeping the pieces small and uniform ensures that they all blend perfectly, creating a great flavor, texture, and taste for your stuffing.
💡 Pat it Dry: Make sure to pat the whole boneless chicken thigh dry with paper towels before cutting it into small pieces
💡 For Easy Cleanup: Cook the chicken in a high quality non-stick pan. It prevents the spices from sticking to the surface, ensuring your chicken stays flavorful and the pan stays easy to wash.
💡 The ceramic nonstick pan should hold the chicken pieces in a single layer with plenty of space between them to achieve a brown/dark brown crust. If you are using a smaller pan, cook the chicken in multiple batches; if you have a larger pan, you can do it all at once
💡 For a Richer, creamy Consistency: Use hung curd for your stuffing.
💡 Fold, Don’t Stir: Gently combine your ingredients until they are just coated. Avoid over-mixing to retain the texture of the vegetables and chicken
💡 Taste your mixture before stuffing the bread! Add a pinch of salt or a little bit of chili—like pepper, green chili, or red flakes—to bring out the flavor and achieve your preferred spice level
💡 Maximize Flavor: Toast your bread and cook your chicken until they are dark brown. The darker the toast, the deeper the flavor and the better the crunch
Frequently Asked Questions
Yes! You can prepare the chicken ahead of time for a quick and easy meal. Just put it in an airtight container and store it in the fridge immediately after cooling (and always within 2 hours of cooking). According to food safety guidelines, cooked chicken lasts in the fridge for 3–4 days.
The most likely reason is overcrowding the pan. Without enough space, the pieces will steam in their own juices instead of browning. For the best results, though, cook in two batches or use a larger pan.
Thicker cuts may stay raw in the middle even if the outside looks done. To fix this, cover the pan with a lid halfway through cooking (after flipping) and lower the heat to trap warmth and ensure they cook through. Keep the lid slightly ajar (or use a lid with a steam hole) to allow some moisture to escape; this prevents the chicken from becoming soggy while it cooks.
This combination provides protein from the chicken for muscle repair and probiotics from the curd for gut health. Onions and capsicum add essential antioxidants and Vitamin C, which boost your immunity and help your body absorb the iron found in the chicken.
By pressing the edges with a spatula, you transform a loose collection of ingredients into a solid, sealed(closed) sandwich. This technique locks the savory juices inside, prevents the filling from falling, and creates a compact shape that is much easier to eat.
You Might Also Like
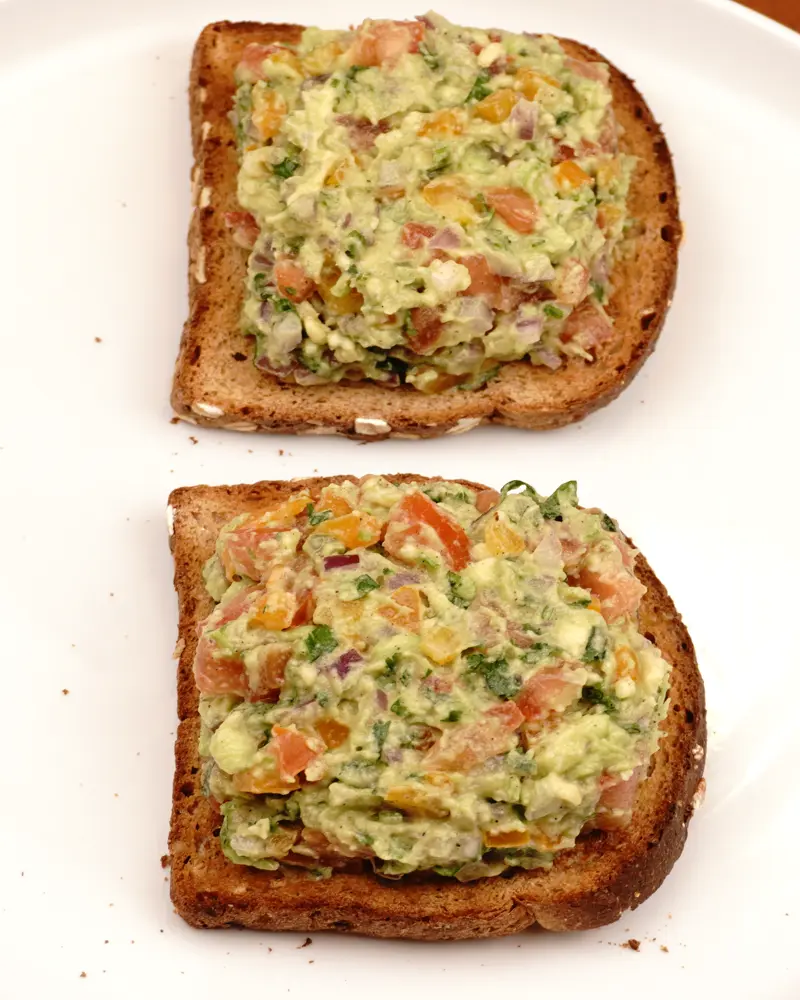
Curd Chicken Tikka Sandwich Recipe
This sandwich features tender, chopped chicken tikka mixed with thick curd and crisp, fresh vegetables. Pressed and toasted in ghee, it’s a crunchy, savory treat that’s perfect for any time of day.
For a low-calorie version, try a Curd Chicken Open Sandwich, Curd egg veggie salad open sandwich.
Ingredients
- 250 g Boneless skinless chicken thighs
- 5 to 6 tbsp Whole milk thick curd/yogurt
- 3/4 tsp Chili powder
- 1/2 tsp Garam masala powder
- 1/2 tsp Chaat masala powder
- 1/4 tsp Turmeric powder
- 2 to 3 cloves Garlic
- 1/2 inch Ginger
- 2 to 3 nos. Green chili
- approx. 8 slices Bread
- 60 g (medium size half) Onion
- 60 g (medium size half) Capsicum
- 1 tsp Lime juice
- 1 to 2 tbsp Chopped coriander leaves
- as required Ghee
- approx. 3/4 tsp Salt
Instructions
-
How to prepare hung curd in two ways
Strainer Method (A): Place a fine strainer over a bowl and add 4 to 5 tbsp of yogurt. Letting it sit for 1 to 2 hours creates a standard thick consistency, while straining it for 3 to 5 hours removes maximum liquid to give a richer, creamy taste. Choose your consistency depending on your preference. (Note: Place in the refrigerator if leaving it for more than 2 hours to prevent souring).
Quick Cloth Method(B): Spoon 4 to 5 tbsp of yogurt onto a clean muslin cloth and gather the edges. Give it a light squeeze for a standard thick texture. For a richer, ultra-creamy taste and texture, squeeze out more liquid until it reaches your preferred consistency.
-
Using Whole-Milk Curd/Yogurt
Thick curd for Chicken Marination: Use thick curd or Greek yogurt. If your yogurt is runny, drain it in a fine-mesh strainer for 1 hour to remove the excess whey. If it is already thick, use it directly.
Hung curd for Sandwich Mixing: For a rich, creamy consistency, use hung curd. Strain yogurt/curd using Method A or Method B.
-
Dry and slice pieces
Pat dry - Gently pat the 250 gms chicken pieces dry using paper towels to remove surface moisture.
Slice same thickness - Use a sharp knife, cut the chicken thigh into small pieces. Aim for a uniform ¼-inch thickness so every piece cooks at the same time.
-
Prepare Ginger Garlic and Green Chili Paste
Place 1/2 inch ginger, 2 to 3 garlic cloves, and 2 to 3 green chilies in the jar and blend them into a coarse texture.
Note: If the pieces are too big, just chop them down a bit first so the standard blender can handle them easily.
-
Apply the marinade
Add the following to your prepared chicken pieces
1 tsp lime juice
Prepared ginger, garlic, green chili paste
1/2 tsp salt
Even Distribution - Instead of pouring the ingredients in one spot, sprinkle them evenly over the chicken pieces. Use your hands to massage the paste, lime juice, and salt into each piece until thoroughly coated.
-
Prepare and apply the second marinade
Clear the Space : Use a spoon to move the marinated chicken to one side of the bowl to create space.
Make the Marinade in the empty space : Add the following ingredients amd mix well.
30 grams ( 2 tbsp) whole milk thick curd
4 grams (1/2 tbsp) cornstarch
1/4 tsp turmeric powder, ½ tsp chaat masala powder, ½ tsp garam masala powder, 3/4 tsp chili powder.
Even Distribution - Using your hands, coat each piece of chicken evenly with the marinade. Repeat this process for the remaining pieces until everything is well-coated.
Chill - Cover the bowl and let the chicken marinate for at least 1 hour to allow the salt to penetrate the meat.
-
Heat a thin layer of ghee in the nonstick fry pan
Ghee the pan - Add 2 tbsp liquid ghee to the pan. Swirl the pan evenly to spread ghee to the entire surface of the pan. The usage of tbsp of ghee depends upon the size of your pan.
Preheat- Preheat the pan for about 5 to 7 minutes over medium flame.
-
First Side: Achieve a Brown/dark brown
Note: I used a ceramic non-stick pan at medium heat for this recipe.
Listen for the Sizzle - Heat the pan over medium heat until it is hot, but not very hot. When you add the chicken, you should hear a sizzling sound; this confirms the pan is ready.
Space them Out: Arrange the patties with plenty of space between them to ensure even cooking and attain brown/ dark brown crust.
The 4 Minute cook : Cook for about 4 minutes without moving them. This allows a brown/drak brown crust to form.
Check and Flip: Use two spoons to quickly peek at the underside by lifting the edge of the chicken piece. Once a brown/dark brown is achieved, flip them over.
-
Second Side: Achieve a Brown/dark brown
Medium Heat: Since the chicken pieces are thin (about ¼-inch), cook them on medium heat from start to finish.
Flip and Cook: Once the first side is nicely browned, flip the pieces and continue to cook the second side for about 2 to 3 minutes.
Check for Doneness: Use a food thermometer to aim for an internal temperature between 165°F and 180°F at the thickest part to ensure the chicken is safe, fully cooked, and juicy.
Total Time: The total cooking time is usually 6–7 minutes per batch.
Timing Will Vary: Keep in mind that exact timing depends on the thickness of your chicken pieces, the type of cookware you use, and your stove's heat levels.
-
Drain and rest
Drain and pat dry- Place the cooked pieces on a plate lined with paper towels. Use an additional paper towel to gently pat all sides of the pieces to absorb the surface oil.
Transfer and cool down- Quickly move them to a fresh plate. Let the tikkas sit for 5 to 10 minutes. This allows them to cool down before you start chopping.
-
Chop in to pieces
Make Small pieces - Place the cooled chicken on a cutting board. Cut the chicken into small pieces so they are ready for the stuffing.
-
Prepare Stuffing
Prep the Base : Take your prepared chopped chicken tikka pieces and place them in a large mixing bowl.
Combine Ingredients : Add the chopped onion (60g), capsicum (60g), coriander (2 tbsp), and Whole milk thick curd (2–3 tbsp).
Note : For a richer, creamier consistency, use hung curd/yogurt (simply strain regular curd/yogurt through a cheesecloth or fine strainer to remove the excess water).
Note on Texture: Ensure the chicken has reached room temperature before combining. Mixing it while even slightly warm will change the curd/yogurt structure, turning your stuffing watery.
Mix : Fold the mixture gently until every piece of chicken and vegetable is evenly coated.
Note: Taste and adjust : If needed, add salt and spice (such as pepper, red chili flakes, or chopped green chilies) to bring out the flavor and achieve your preferred spice level.
-
Stuffing the Bread
Prep the Bread and add the stuffing : Place two slices of bread on a clean plate. Scoop 2 to 3 tbsp of stuffing onto one slice. Spread it evenly over the bread.
Close it Up : Place the second bread slice on top.
Note : Leave a small border around the edges when spreading the filling. This prevents it from falling out when you apply pressure to the sandwich.
-
Preheat and oil
Heat the Pan : Place a cast iron pan over a medium flame. Let it preheat for 4 to 5 minutes until it is hot.
Add ghee : Once the pan is hot, add a little ghee and spread it around.
-
Apply ghee and place Into the pan
Ghee the Bread : Just before cooking, spread a thin layer of ghee on the top side of your sandwich.
Place Ghee Side Down : Place the sandwich onto the hot pan with the ghee-coated side facing down.
Cook for 4 to 5 Minutes : Toast over medium heat without moving the sandwich.
Note : Make sure the pan is hot but not very hot before placing the sandwich.
-
Press, ghee and toast
Press Down with Weight : Place a heavy, flat object—such as a potato masher, heavy lid, flat spatula, or even another pan—on top of the sandwich.
Firm Press to close edges : Press firmly across the entire surface. This helps close the bread edges together and ensures an even, dark brown crunch.
The peek test before flip : After about 4 minutes, use a spoon to gently lift the bread and check for a dark brown crust. Once it has formed, the sandwich is ready to flip.
Ghee the top and flip : Just before flipping spread a thin layer of ghee on the top side of your sandwich.
Note : Do this heavy press immediately after placing the sandwich in the hot pan.
-
Flip and finish
Toast the Second Side : Place the sandwich ghee-side down and cook for 2 to 3 minutes over a medium flame.
Repeat the Press : Use your weight (smasher or pan) to press the sandwich firmly again. This ensures both sides are equally crisp and the bread edges stay closed.
Check for Doneness : Peek underneath once more. Remove from the pan only when a dark brown crust has formed.
Note : The pan is already very hot, so the second side toasts much faster than the first side.
-
Ready to serve
The Quick Rest : Transfer the sandwich to a wire rack or prop it up for 1 to 2 minutes. This allows steam to escape and keeps the crust perfectly crisp.
The Diagonal Cut : Place the sandwich on a clean board. Use a sharp knife to slice diagonally from corner to corner.
Serve Hot : Enjoy immediately while the crust is at crunch and the filling is warm.
Note : Do not leave the hot sandwich sitting on a flat board or plate for too long after toasting. This prevents the bottom of the bread from getting soggy.
-
Prioritize a Dark Brown Finish:
While a golden-brown surface is good, the secret to maximizing depth of flavor is a rich, dark brown finish. Aim for deep, even browning across the entire surface of the bread. This dark brown finish guarantees a delicious, restaurant-quality sandwich that delivers the richest flavor.
Note : Just be sure to avoid any black color on the bread to prevent it from burning, which would create a bitter taste.
Loading rating...
Write a Review
Loading reviews...