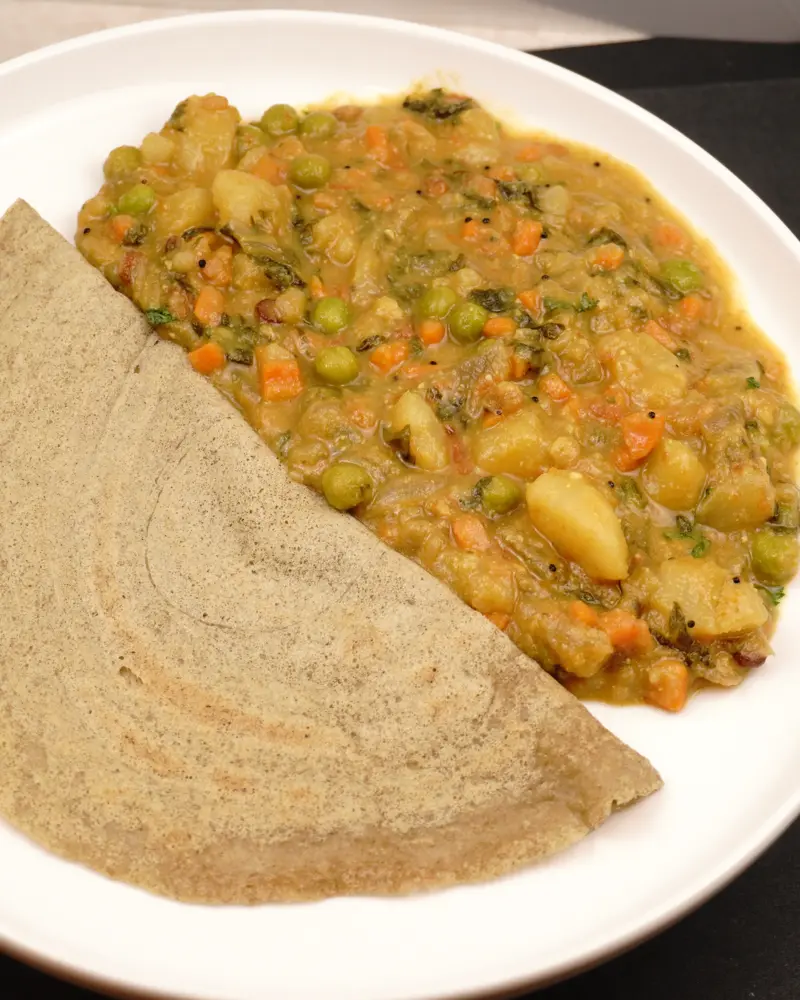
Crunchy Air Fried Sprouted Chickpeas
by Viruthiga Veni
Loading rating...
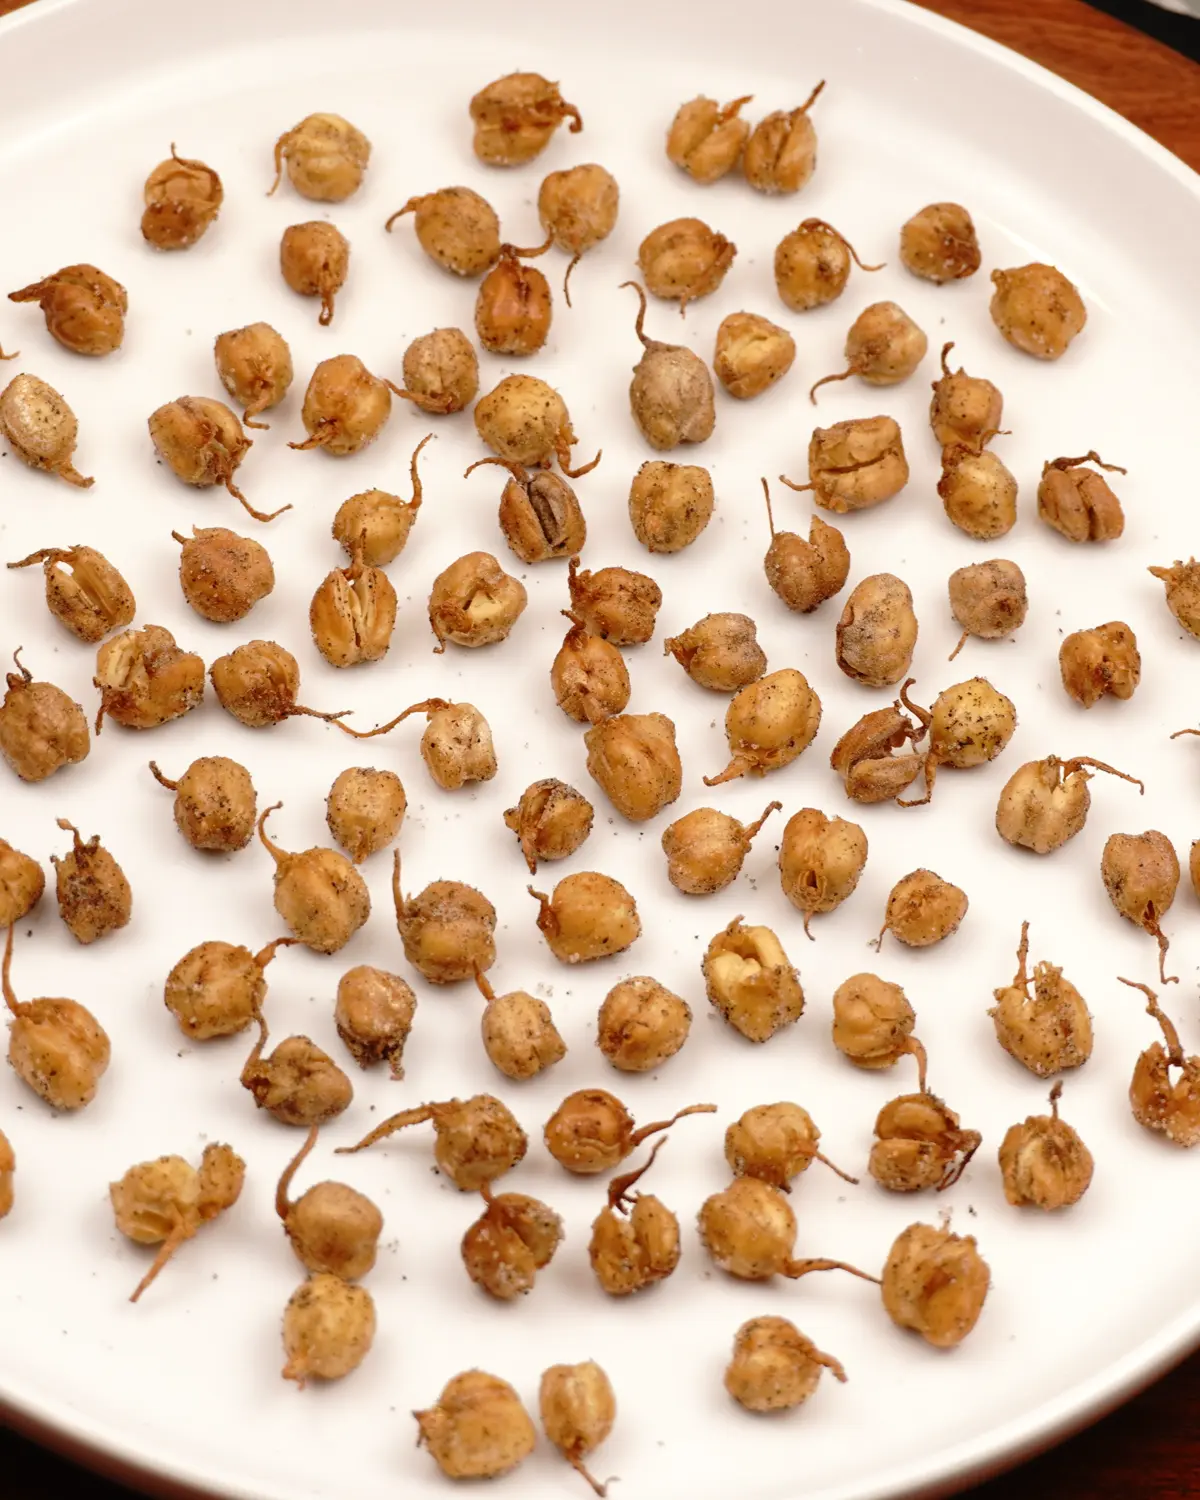
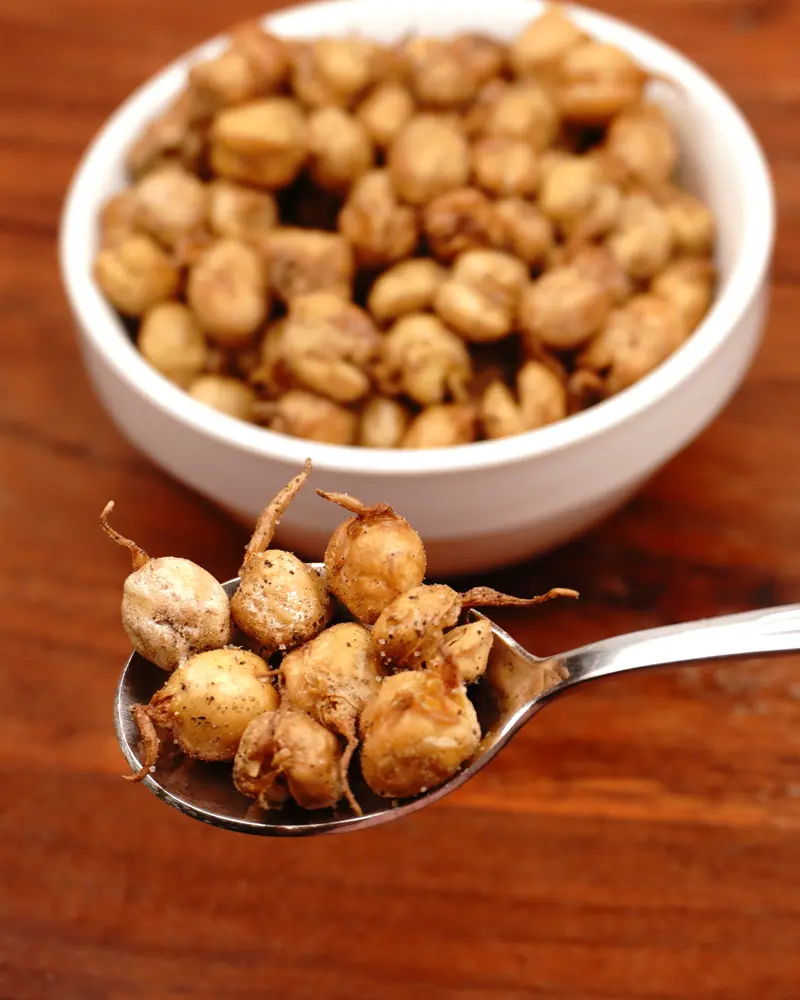
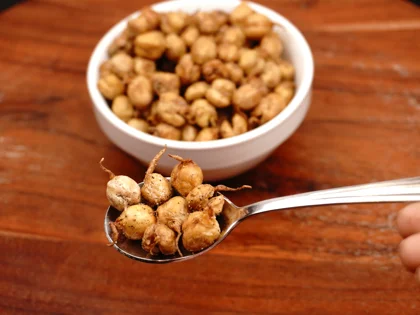
"Looking for a healthy crunch? These air-fried sprouted chickpeas are simple to make. They are one of my favorite snacks because they are high in fiber and protein.
Ingredients
Sprouted chickpeas – 150 grams
Ghee or coconut oil (vegan) – ½ tbsp
Salt – approx. ½ tsp
Pepper – approx. ½ tsp
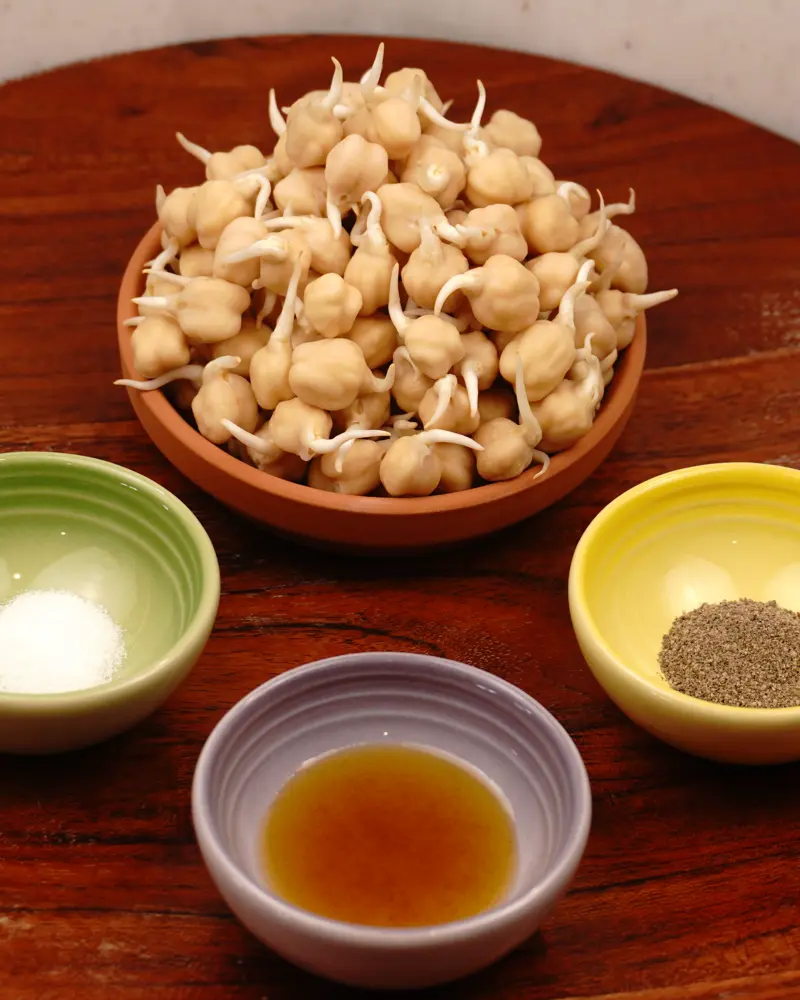
Ingredients
Sprouted chickpeas – Plan ahead and start the process two days in advance.
Ghee - For a vegan version, use coconut oil instead of ghee.
Pressure cook the sprouted chick peas
Initial Boil to remove foam
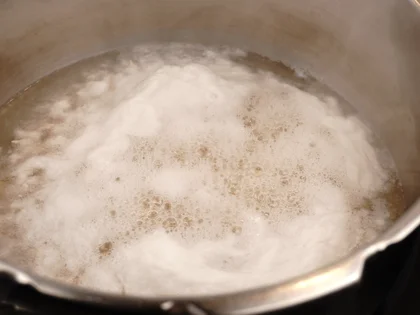
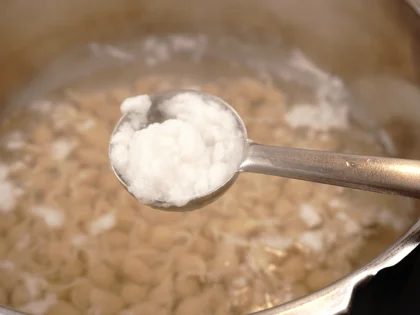
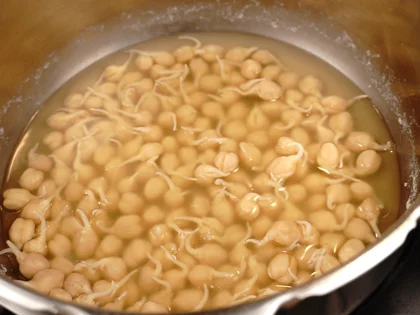
Place 150 g sprouted chickpeas, about 300ml water in a pan. Bring to a boil for 5 to 10 minutes. You will see foam collecting on the surface; remove as much as possible with a slotted spoon.
Pressure Cook
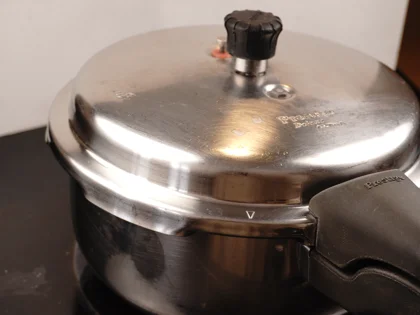
Secure the lid and pressure cook on medium heat for one whistle. After the whistle, reduce heat to low and simmer for 5 minutes. Remove the pan from the heat and allow the pressure to release naturally.
Note : Do not salt the chickpeas while cooking, as this prevents them from getting crispy in the air fryer.
Drain the excess water
Strain
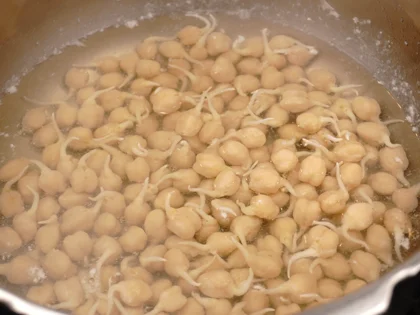
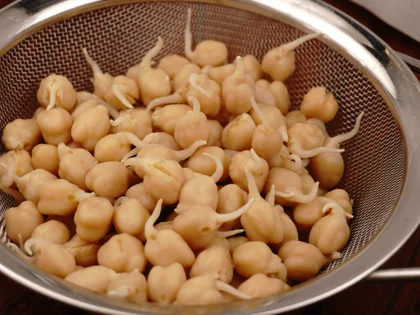
Once the pressure releases naturally, open the lid and transfer the chickpeas to a strainer to drain the excess water. You can save this water to drink (plain or with a pinch of salt) or add it to a curry for extra flavor.
Rest - Shake the strainer gently and let them rest for a few minutes.
Cooking in air fryer
Preheat the air fryer
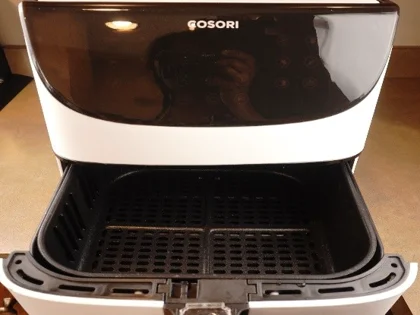
Empty the Basket : Insert the clean, empty basket into the air fryer.
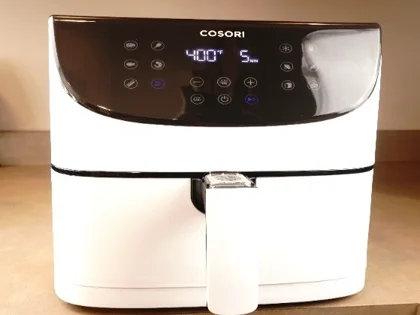
Preheat : Select the 'Preheat' option on your machine and let it run for approximately 5 minutes.
Moisture Removal from chick peas
Temperature: Set air fryer to 350°F (180°C).
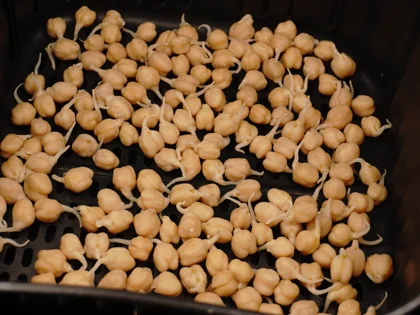
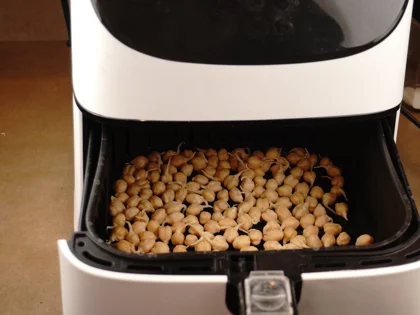
Dry Fry: Place drained chickpeas in the basket and cook for 5 minutes.
Goal: Do not add oil yet. This step removes surface moisture from the chickpeas.
Coating with ghee or coconut oil
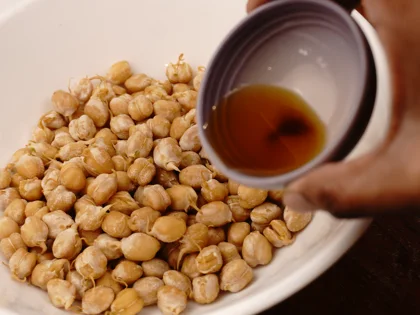
Add : Remove the basket from the air fryer and transfer the chickpeas into a clean bowl and add ½ tbsp of ghee.
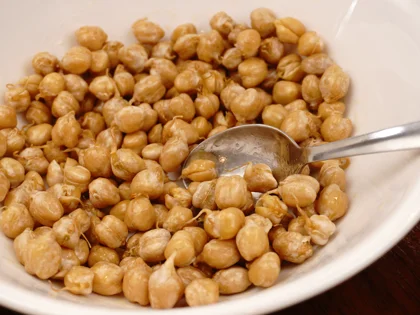
Mix : Stir well with spoon until every chickpea is evenly coated.
Vegan option : To keep this recipe plant-based, simply replace the ghee with refined coconut oil or avocado oil using the same measurements.
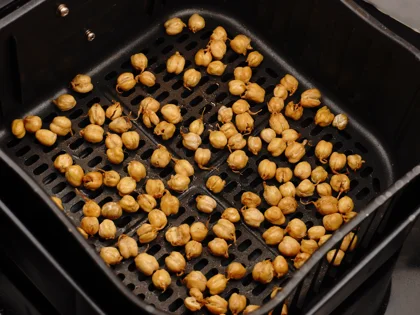
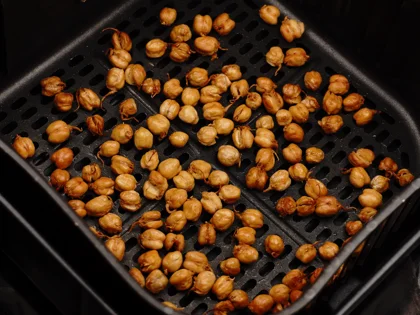
Cook the chick peas until turns golden brown
Temperature : 350 degrees F / 180 degrees C
Total Time : Approximately 25 to 27 minutes (or until golden brown)
Shake the basket : Place the ghee-coated chickpeas into the air fryer basket. Every 10 minutes, remove the basket and give it a firm shake to ensure the chickpeas cook evenly on all sides.
Timing Varies : Every air fryer performs differently. Cooking time will vary depending on the quantity of chickpeas used. Begin checking them after 20 minutes to ensure they do not overcook or burn.
Note : In my test, they took about 22 minutes after the initial moisture removal.
Coating the seasonings
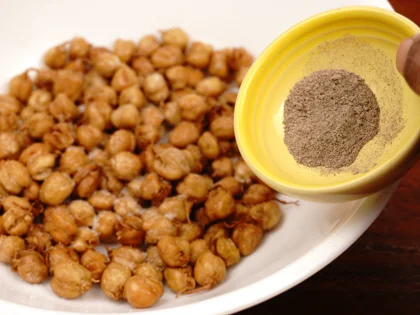
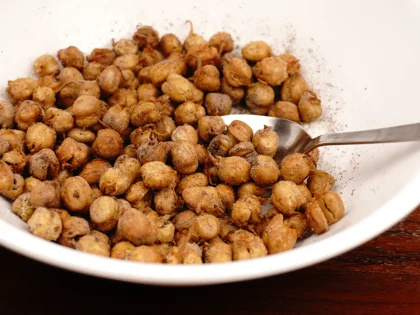
Season While Hot : Adding spices while the chickpeas are fresh and hot from the air fryer ensures the best flavor and helps the seasoning stick.
Mix : Sprinkle ½ tsp salt and ½ tsp pepper over the golden brown chickpeas. Stir well until every chickpea is evenly coated.
Note : Always add salt at this final stage to keep that perfect crunch.
Storage and Preservation
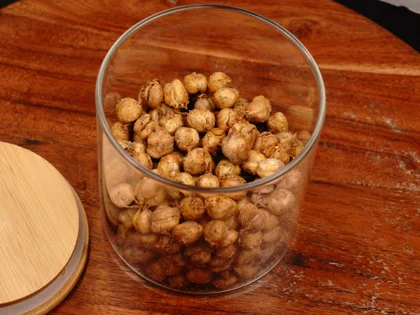
Rest : let them rest for 5 to 10 minutes. This allows the chickpeas to finish crisping up as they cool to room temperature.
Store : Once completely cooled, transfer the chickpeas into an airtight container to preserve their crunch and freshness.
Frequently Asked Questions
Tips
💡 The leftover water used to boil chickpeas is rich in nutrients and protein. Use it as a thickener for gravies or simply drink it.
💡 Do not salt the chickpeas while cooking. Always add salt after they are air-fried; adding it at this final stage ensures they stay crunchy.
💡 Add the spices, like salt and pepper, while the chickpeas are still hot so the flavor sticks better.
💡 Tip for Perfect Color: Monitor the timing closely and stop cooking once the chickpeas reach a light golden color. Avoid waiting until they turn dark brown, as they can quickly become overcooked or bitter.
💡 Tip for Even Browning: Ensure every chickpea is thoroughly coated in ghee or oil before air frying. "Dry spots" (areas with too little oil) will brown too quickly, leading to a burnt and bitter flavor.
💡 Tip to Prevent Dryness: Chickpeas can become overly dry due to overcooking or a lack of oil. To keep them perfectly crunchy, check them occasionally while air-frying. If they look dull or dry, give them a light oil spray or an extra stir to protect the surface. Aim for a light golden brown color and avoid long cooking times to prevent them from hardening.
Frequently Asked Questions
For the best results, always arrange your chickpeas in a single, even layer by providing enough space between them. This allows the hot air to circulate freely, ensuring every surface browns evenly.
If you have a large amount, it is always better to cook them in two separate batches. Crowding the basket to save time will actually affect the final texture.
Dryness usually happens due to a lack of ghee/oil or overcooking. To prevent this, check the chickpeas occasionally during the air-frying process. If they appear dull or dry, give them a light spray of oil or an extra stir to protect the surface. Additionally, avoid long cooking times—aim for a light golden brown color to ensure they stay perfectly crunchy.
Bitterness and burnt are typically caused by two main factors: insufficient oil and overcooking.
Avoid "Dry Spots - Ensure every chickpea is thoroughly coated in ghee or oil before air frying; "dry spots" (areas with little to no oil) will brown too quickly, leading to a burnt and bitter flavor.
Watch the Color - For the best results, monitor the timing closely and stop cooking once they reach a light golden color rather than waiting for them to turn dark brown.
The Key: Texture depends entirely on proper cooking time
Under-cooked: If the chickpeas are under-cooked, they will remain soft or chewy and will not be crunchy.
Over-cooked: If they stay in too long, they will become dry, hard, or burnt.
The Solution: Ensure proper coating with oil or ghee, avoid overcrowding the basket, and aim for a light golden brown color.
Air frying is a healthy choice because it uses rapid hot air circulation to crisp food instead of submerging it in oil. This allows you to achieve a "fried" texture with up to 80% less fat and significantly fewer calories than traditional deep frying
This recipe serves 1–2 people and works perfectly in a standard small air fryer. However, if you are cooking for a larger family, we recommend using a larger toaster oven-air fryer.
You Might Also Like
Crunchy Air Fried Sprouted Chickpeas Recipe
"Looking for a healthy crunch? These air-fried sprouted chickpeas are simple to make. They are one of my favorite snacks because they are high in fiber and protein.
Ingredients
- 150 grams Sprouted chickpeas
- ½ tbsp Ghee or coconut oil (vegan)
- approx. ½ tsp Salt
- approx. ½ tsp Pepper
Instructions
-
Initial Boil to remove foam
Place 150 g sprouted chickpeas, about 300ml water in a pan. Bring to a boil for 5 to 10 minutes. You will see foam collecting on the surface; remove as much as possible with a slotted spoon.
-
Pressure Cook
Secure the lid and pressure cook on medium heat for one whistle. After the whistle, reduce heat to low and simmer for 5 minutes. Remove the pan from the heat and allow the pressure to release naturally.
Note : Do not salt the chickpeas while cooking, as this prevents them from getting crispy in the air fryer.
-
Strain
Once the pressure releases naturally, open the lid and transfer the chickpeas to a strainer to drain the excess water. You can save this water to drink (plain or with a pinch of salt) or add it to a curry for extra flavor.
Rest - Shake the strainer gently and let them rest for a few minutes.
-
Preheat the air fryer
Empty the Basket : Insert the clean, empty basket into the air fryer.
Preheat : Select the 'Preheat' option on your machine and let it run for approximately 5 minutes.
-
Moisture Removal from chick peas
Temperature: Set air fryer to 350°F (180°C).
Dry Fry: Place drained chickpeas in the basket and cook for 5 minutes.
Goal: Do not add oil yet. This step removes surface moisture from the chickpeas. -
Coating with ghee or coconut oil
Add : Remove the basket from the air fryer and transfer the chickpeas into a clean bowl and add ½ tbsp of ghee.
Mix : Stir well with spoon until every chickpea is evenly coated.
Vegan option : To keep this recipe plant-based, simply replace the ghee with refined coconut oil or avocado oil using the same measurements.
-
Cook the chick peas until turns golden brown
Temperature : 350 degrees F / 180 degrees C
Total Time : Approximately 25 to 27 minutes (or until golden brown)
Shake the basket : Place the ghee-coated chickpeas into the air fryer basket. Every 10 minutes, remove the basket and give it a firm shake to ensure the chickpeas cook evenly on all sides.
Timing Varies : Every air fryer performs differently. Cooking time will vary depending on the quantity of chickpeas used. Begin checking them after 20 minutes to ensure they do not overcook or burn.
Note : In my test, they took about 22 minutes after the initial moisture removal.
-
Coating the seasonings
Season While Hot : Adding spices while the chickpeas are fresh and hot from the air fryer ensures the best flavor and helps the seasoning stick.
Mix : Sprinkle ½ tsp salt and ½ tsp pepper over the golden brown chickpeas. Stir well until every chickpea is evenly coated.
Note : Always add salt at this final stage to keep that perfect crunch.
-
Storage and Preservation
Rest : let them rest for 5 to 10 minutes. This allows the chickpeas to finish crisping up as they cool to room temperature.
Store : Once completely cooled, transfer the chickpeas into an airtight container to preserve their crunch and freshness.
Loading rating...
Write a Review
Loading reviews...