Coconut Milk
by Viruthiga Veni
Loading rating...
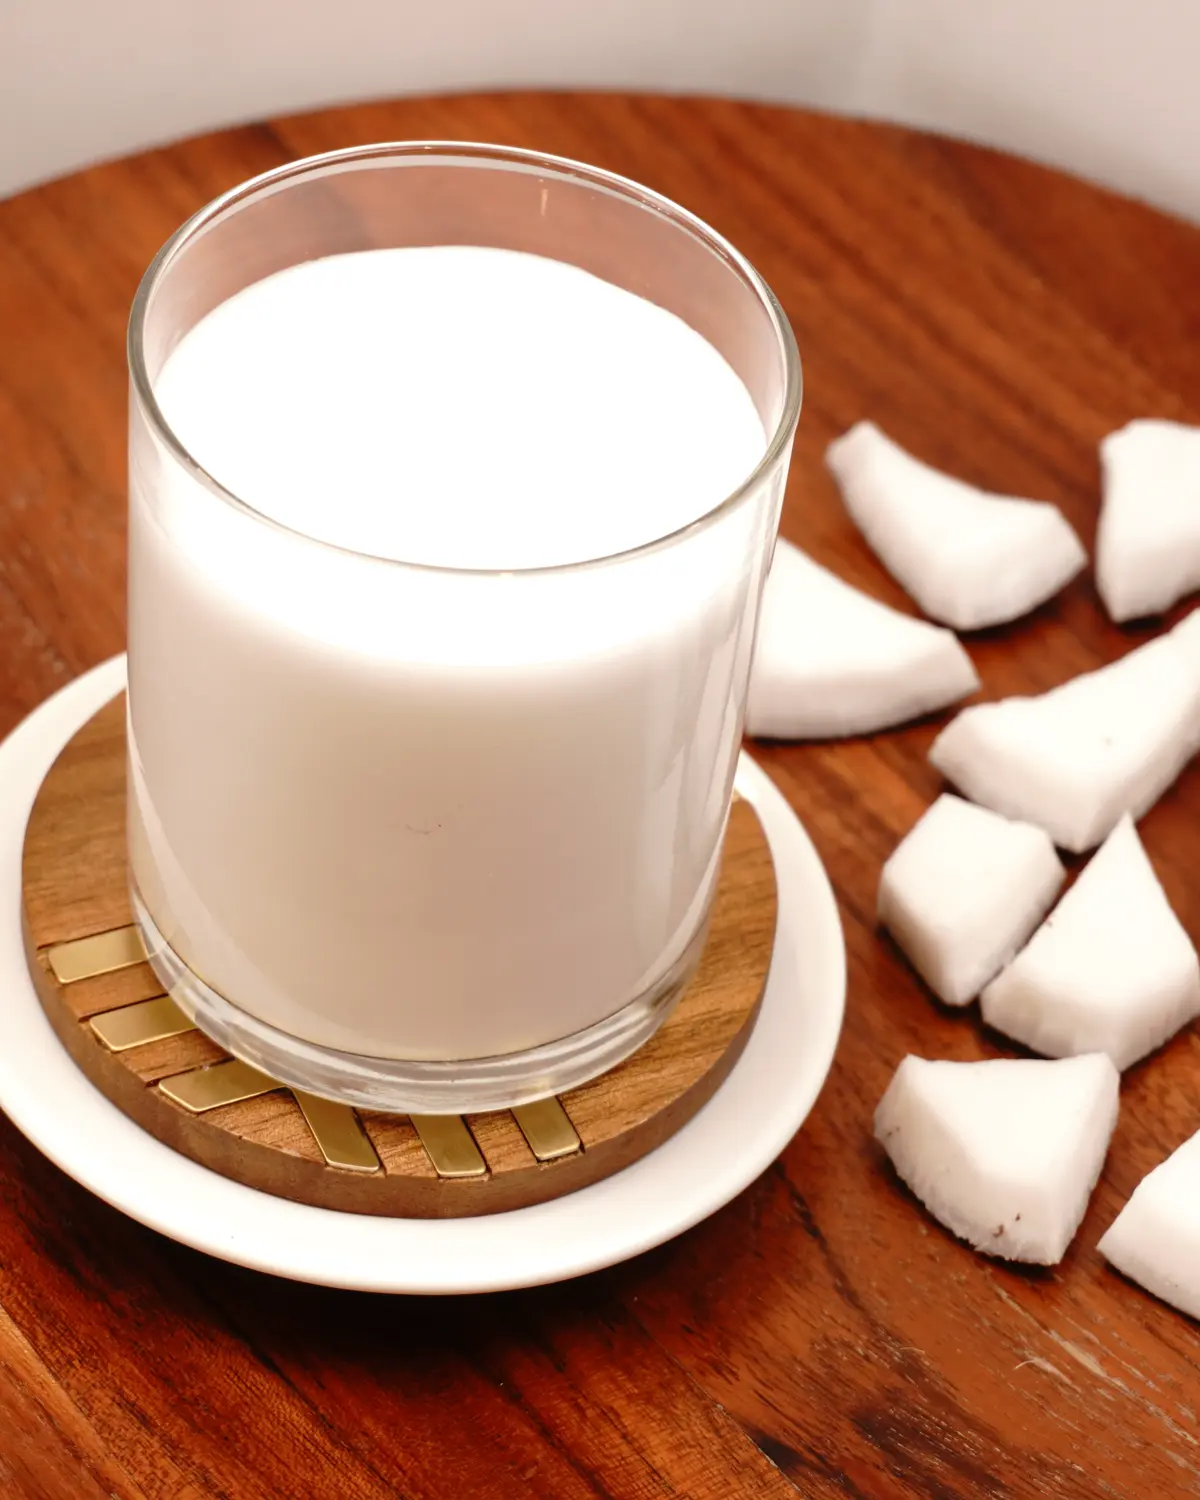
Coconut milk is a versatile and popular ingredient, used across various cuisines in both sweet and savory dishes. This milky, white liquid extracted from the white flesh of a mature brown coconut. It is also a tasty and nutritious liquid that can easily make at home from using either grated coconut or coconut pieces. You can use thick or thin coconut milk depending on what you're cooking. Coconut milk can also be used either raw or cooked.
Raw coconut milk is used in many recipes for its taste and nutritional value. Examples include drinking it plain, smoothies, cereal bowls, popsicles, appam, idiyappam, and ice cream.
Cooking with coconut milk adds flavor and creaminess to many sweet and savory dishes like curries, puddings, desserts, rice dishes, and soups.
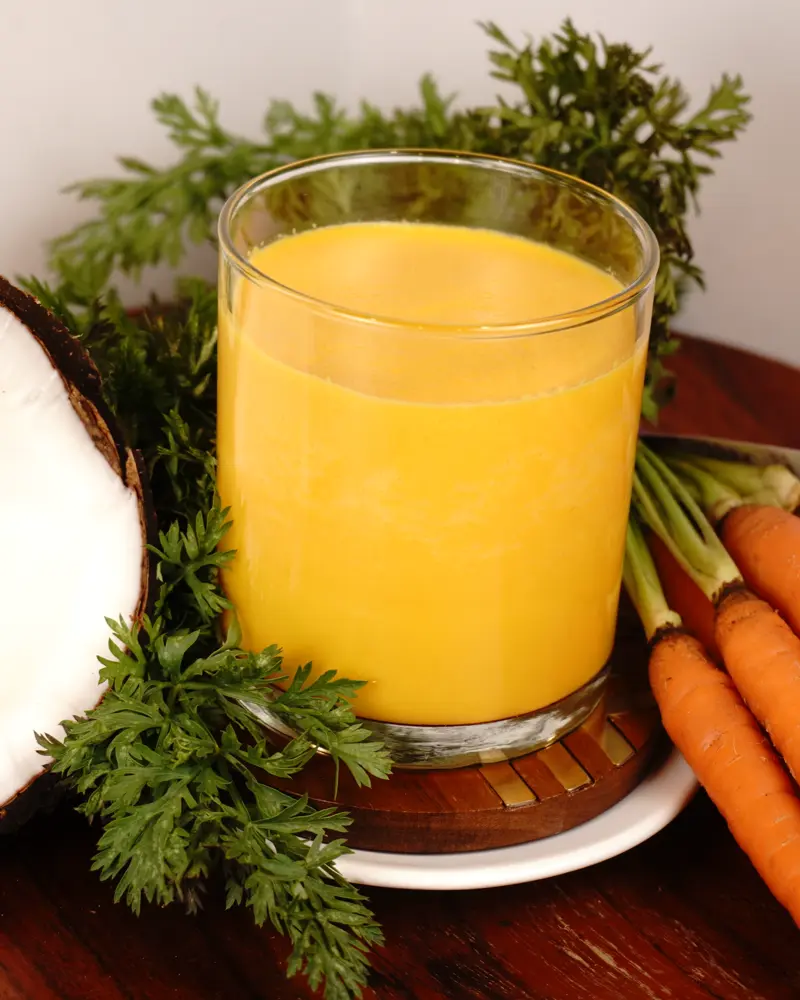
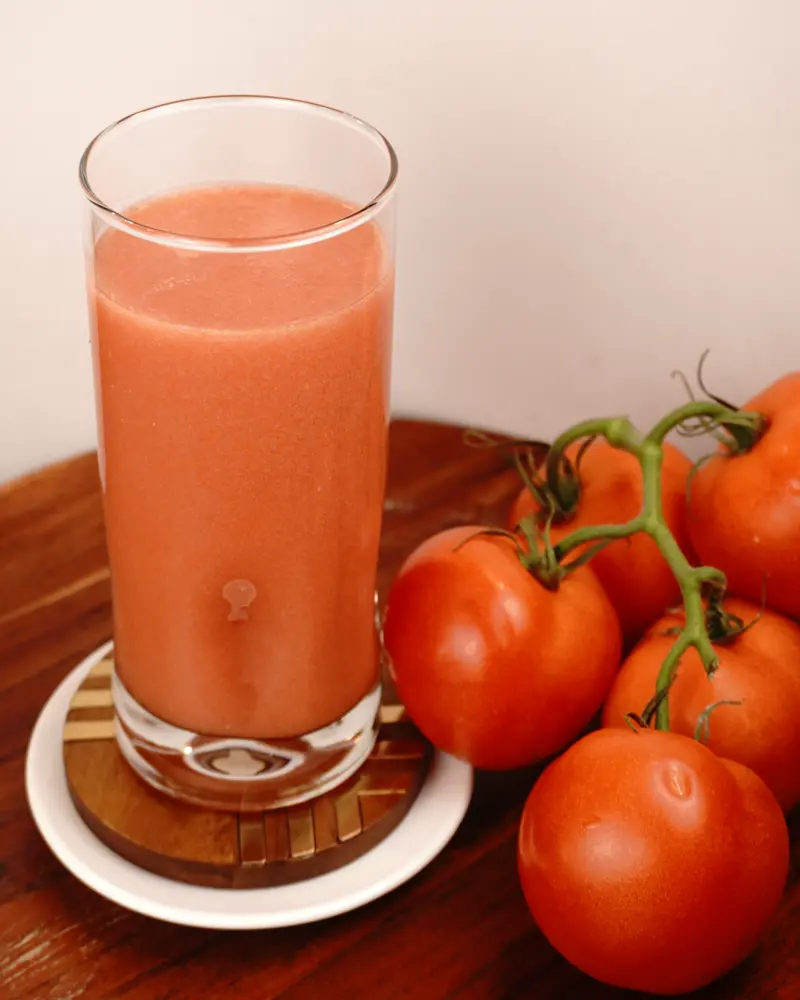
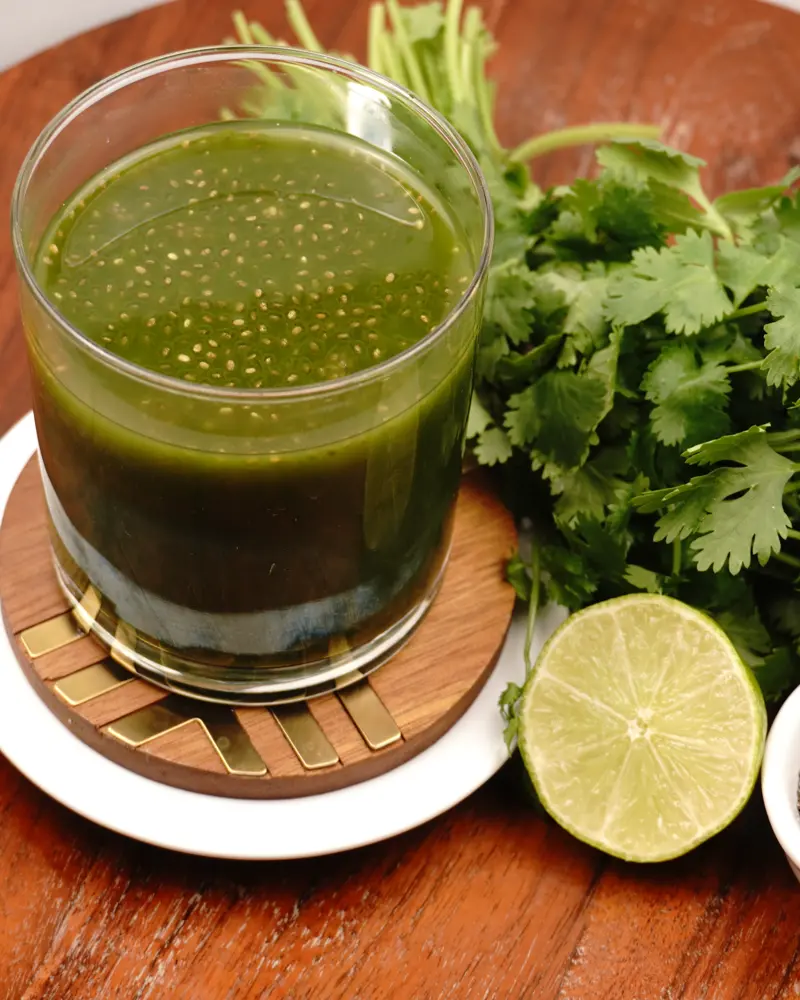
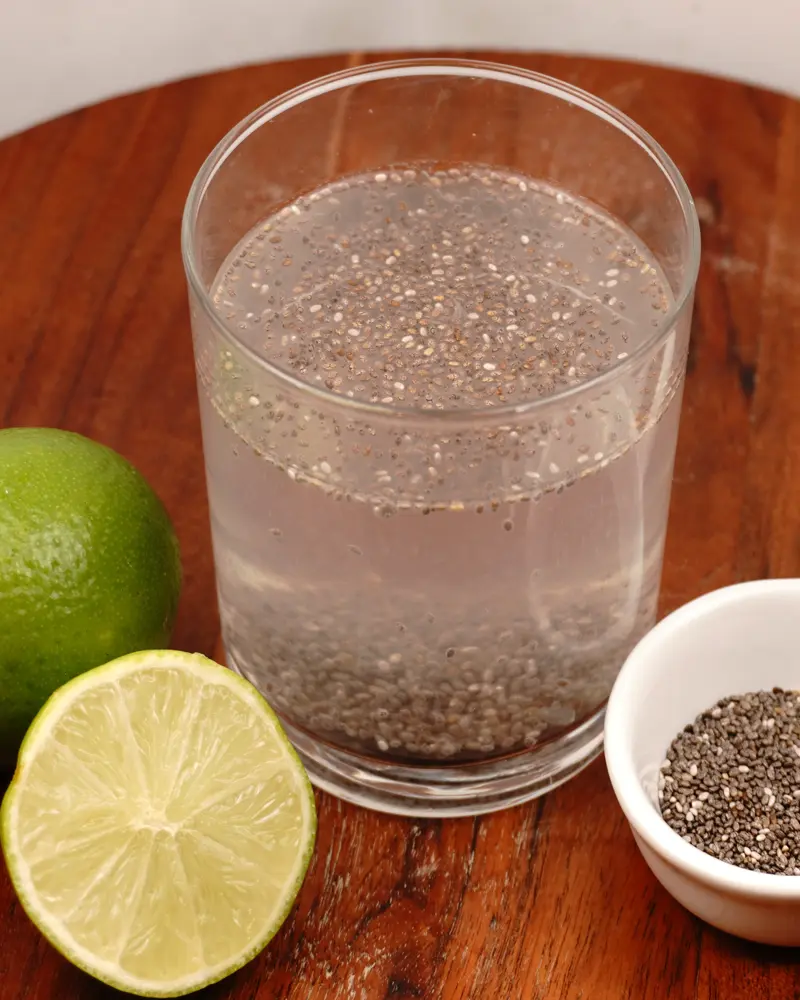
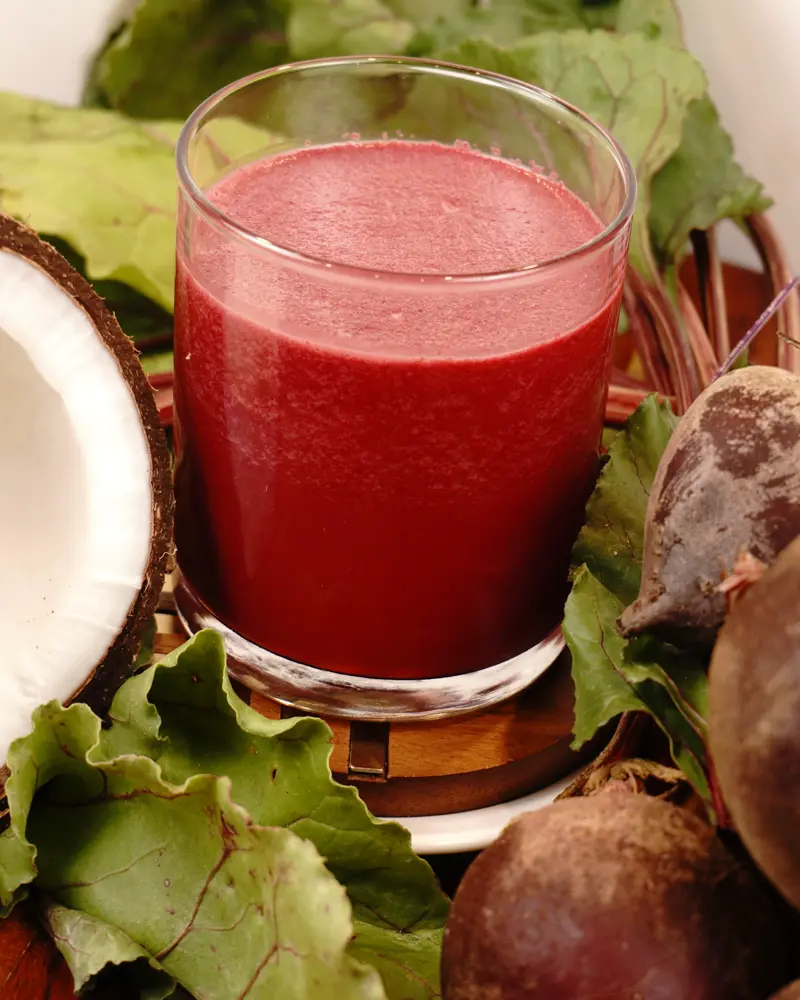
Give these other drinks a try: Coconut milk carrot smoothie, coconut mik beetroot smoothie, low calorie raw tomato smoothie, simple chia lime water, green juice with chia seeds.
Ingredients
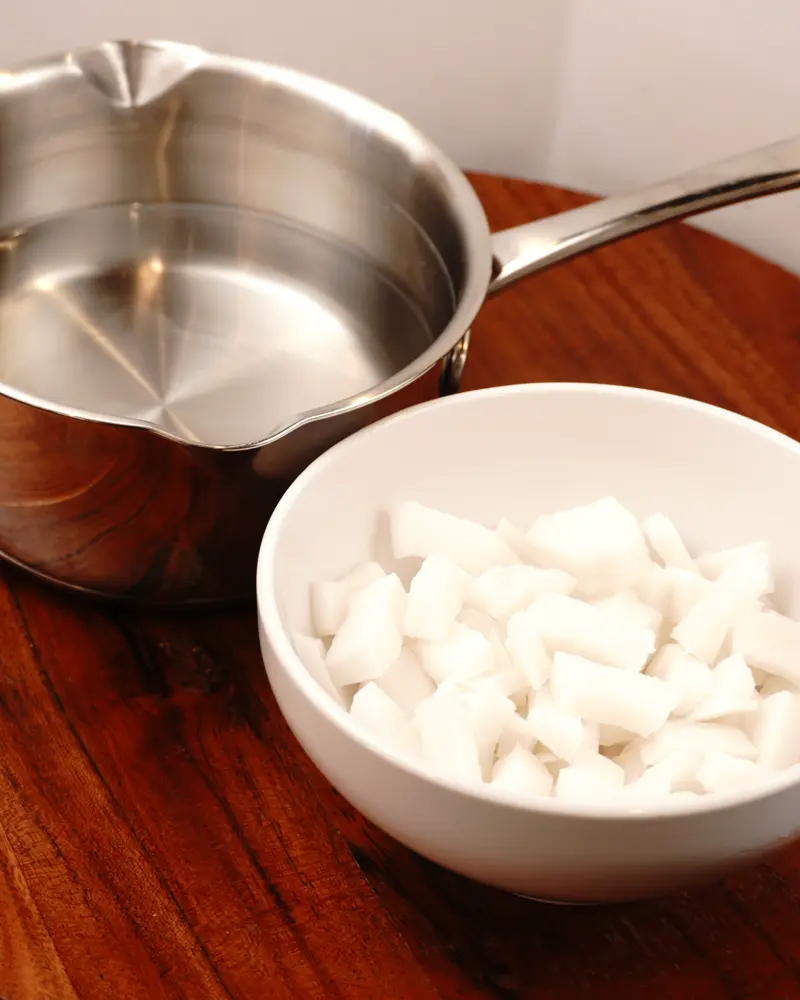
Small pieces/Grated coconut – 150 grams
water – 300 ml
Preparation of coconut
Drinking raw coconut milk gives us many benefits because it’s not cooked. So, it’s very important to select and prepare a coconut safely.
Choose good quality Coconut
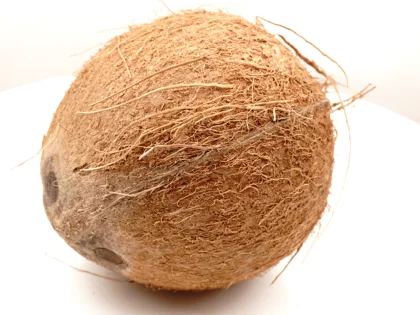
Pick coconuts: That are with good amount of liquid, feel heavy for its size, eyes should look clean and dry.
Avoid coconuts: That are with cracked shells, any signs of mold around eyes. After crack open the coconut the smell should be pleasant and flesh color should be white. If the coconut smells unpleasant and change in flesh color then discard.
Cracking Open the Coconut
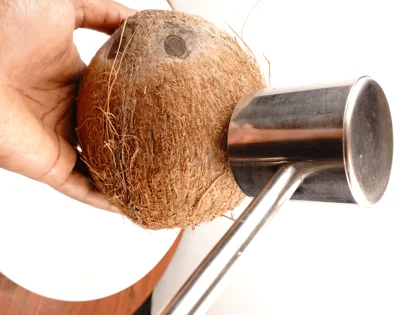
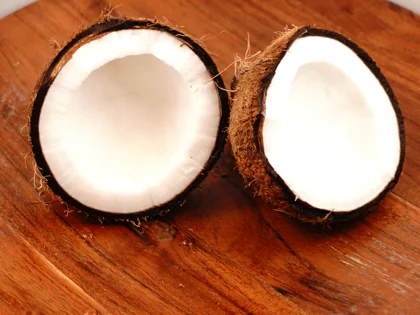
Place the bowl. Hold the coconut with one hand over the bowl. Hold the hammer/mallet on other hand then carefully tap the coconut along its equator. Rotate the coconut as you tap and continue to tap until it cracks open in to two halves.
Removing the Flesh and Brown Skin
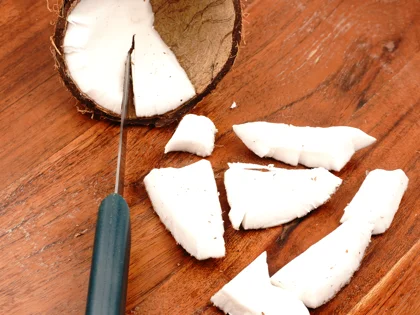
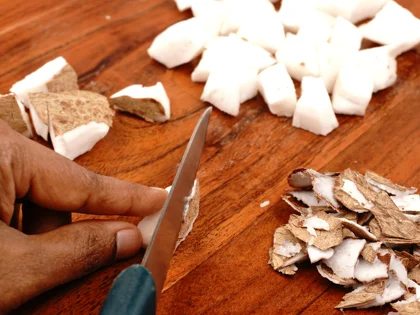
After crack open the coconut, using sharp knife to remove the coconut flesh from the outer shell. Then using the sharp knife/peeler to remove the brown skin from all the coconut pieces.
Why remove the brown skin? Leaving the skin on can give your extracted coconut milk a slightly bitter taste. Removing it ensures a sweeter flavor.
Rinsing and Chopping
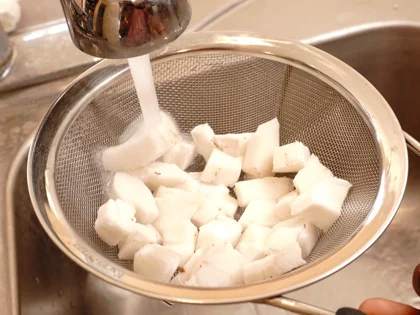
After peeling, place the coconut pieces in the strainer and rinse under running water.
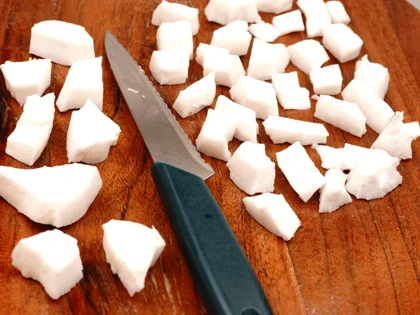
If larger pieces of coconut present, then chop them in to small pieces because it will make easier for the standard blender to handle.
Thick vs. Thin Coconut Milk: What’s the Difference?
The amount of water you add to the coconut pieces determines the overall thickness of the extracted milk. Traditionally, it is divided into two distinct categories:
Thick Coconut Milk: To make thick coconut milk, use 100 to 150 ml of water for every 150 grams of coconut. This yields a concentrated 1:1 ratio of coconut to water.
Thin Coconut Milk: To make thin coconut milk, increase the water to 250 to 300 ml for the same 150 grams of coconut pieces. This creates a lighter 1:2 ratio of coconut to water.
How to Make Thick Coconut Milk (First Extraction)
Warm the water
Pour your water into a pan and place it over medium heat. Let it heat for about 2 to 3 minutes until it is warm to the touch.
Warm water helps release the natural oils and fats from the coconut flesh more effectively than cold water.
Pulse to a coarse grind
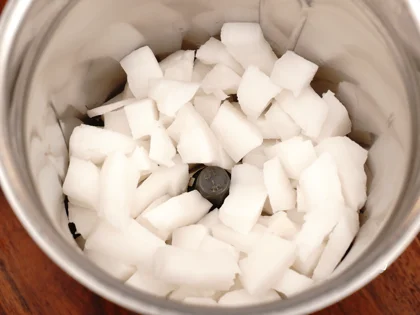
Place 150 grams of the chopped coconut pieces into your blender jar. Pulse the blender for a few seconds at a time, repeating the process several times. Until the coconut is coarsely ground.
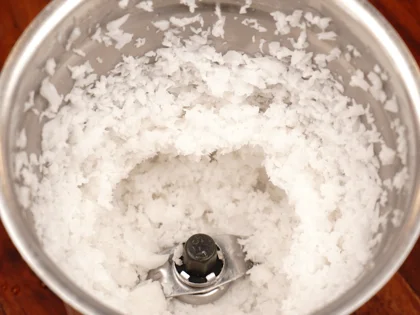
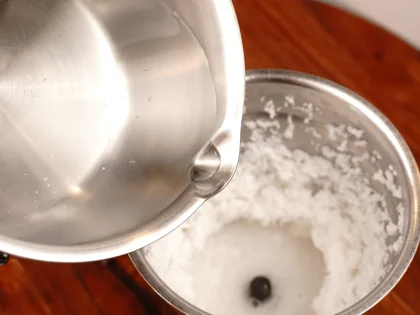
Add warm water and blend fine
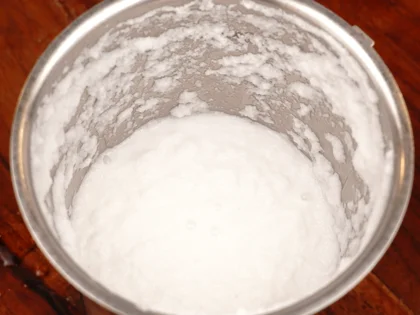
Pour 100 to 150 ml of the warm water directly into the jar with the coarsely ground coconut. Blend in short bursts of a few seconds, repeating until the mixture breaks down into a completely fine texture.
Squeeze and extract
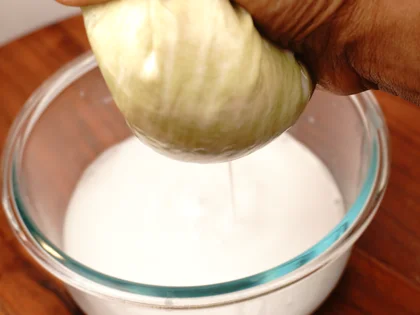
Place a nut milk bag or a fine cloth filter over a clean bowl. Pour the finely ground coconut into the filter, using a spatula to scrape down the sides of the blender jar so nothing is wasted. Gather the edges of the cloth and squeeze it firmly with your hands to press out as much liquid as possible.
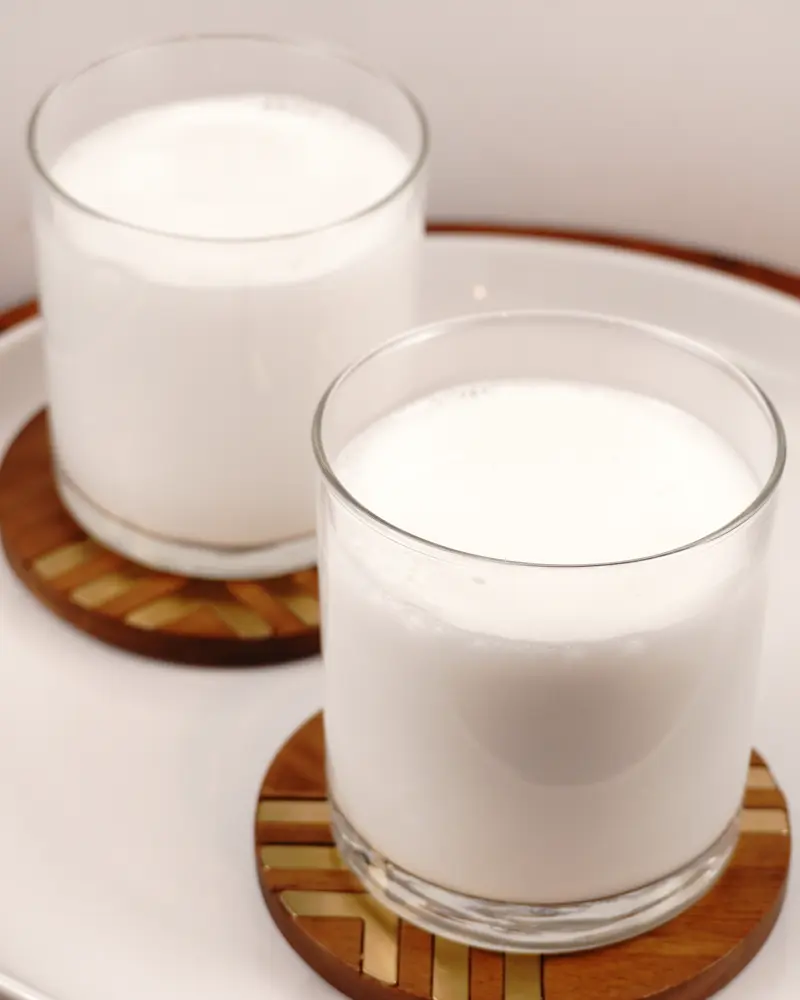
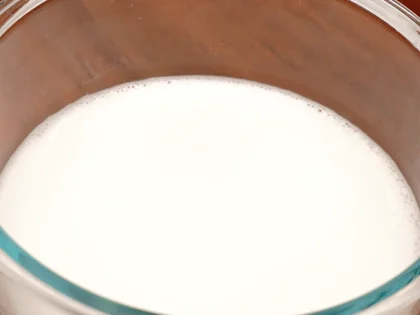
The Result: The rich, creamy liquid collected in your bowl is your first extraction, traditionally known as thick coconut milk.
How to Make Thin Coconut Milk (Second Extraction)
Don't throw away that leftover coconut pulp! Thin coconut milk is traditionally made by re-blending the squeezed coconut flesh from your first extraction with a bit more warm water.
Return the Pulp to the Jar and Re-Blend
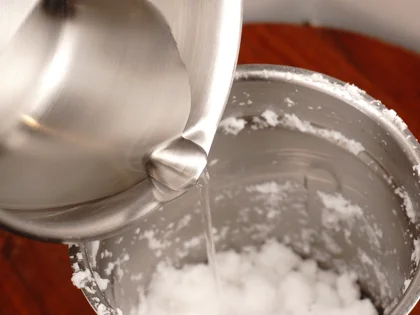
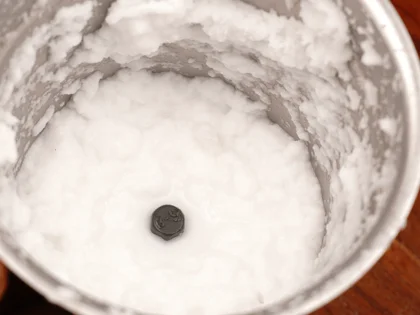
Take the squeezed coconut pulp out of your nut milk bag or cloth filter and place it back into the blender jar.
Next, pour an additional 150 ml of warm water in with the pulp. Grind the mixture in short bursts for a few seconds at a time, repeating several times until the water and coconut are completely and well combined.
Squeeze and extract again
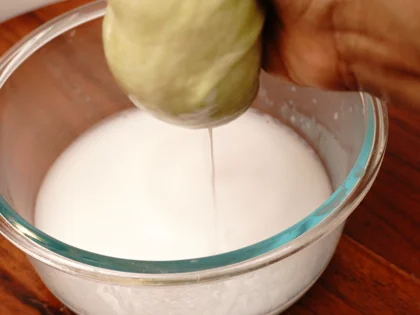
Set your cloth filter or nut milk bag back over a clean bowl. Pour the mixture in, using a spatula to scrape any remaining pulp from the sides of the jar. Gather the cloth and squeeze it firmly with your hands to extract all the liquid.
The Result: The lighter, more fluid liquid in your bowl is your second extraction, traditionally called thin coconut milk.
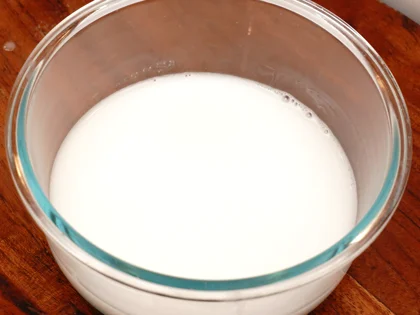
How to Make Thin Coconut Milk in One Go (Single Extraction)
If you only need thin coconut milk for your recipe, you can extract it all in a single run. To achieve the perfect thin consistency, you will use a total of 250 to 300 ml of warm water for every 150 grams of coconut pieces.
Coarse Blend (Dry Pulse)
Place your 150 grams of chopped coconut pieces into a standard blender jar. Pulse the blender in short bursts for a few seconds at a time until the coconut breaks down uniformly into coarse pieces.
Fine Grind (First Water Addition)
Pour about half of your warm water (approximately 150 ml) into the jar with the coarse coconut. Blend in short bursts for several seconds, repeating until the coconut completely breaks down into a fine texture.
Final Extraction (Remaining Water)
Add the remaining 150 ml of warm water directly into the jar. Blend everything together well in one final go to fully combine the liquid. Once blended, simply pour the mixture through your cloth filter or nut milk bag and squeeze firmly to extract your thin coconut milk.
Note: Because this method combines all the water into a single pressing, a second extraction is not needed. The leftover pulp can simply be discarded, or it can be saved for other culinary uses—such as drying it out to make coconut flour, mixing it into baking batters, or adding it to your morning smoothies—as the maximum amount of thin milk has already been captured.
Blender Guide:
Match Jar Size to Quantity
For large quantity of coconut pieces : Use a large jar. If only a small jar is available, blend the coconut pieces in several smaller batches to prevent motor strain and achieve a consistent, fine texture.
For small quantity of coconut pieces : Use a small jar. A large jar won't work well because the blades will miss many coconut pieces, resulting in an uneven texture.
For Proper Blending
Varying speed for fine consistency : Begin processing at a low speed to initially break down coconut pieces into smaller pieces. Gradually increase to a high speed to achieve a uniform, fine consistency.
Start with a Small Amount of Liquid: To achieve the fine texture, never dump all your liquid in at once. Start by adding just a minimal amount of warm water to the blender jar. Blend this into a thick, fine texture first, slowly adding water in small increments if needed. Once that smooth, fine consistency is reached, pour in the remaining water and give it a final blend to combine everything perfectly.
Tips
💡 Use good quality coconut. Remove the brown skin and wash thoroughly under running water before starting the milk-making process
💡 To attain thick coconut milk, use less water—use a 1:1 ratio of coconut to water.
💡 To attain thin coconut milk, simply double the water—use a 1:2 ratio of coconut to water.
💡 Using warm water during blending helps extract more natural fats from coconut, resulting in a creamier consistency.
Frequently Asked Questions
Coconut milk is nutritious, rich in essential vitamins and minerals, high in calories and saturated fat, help reduce appetite and decrease calorie intake, reduce inflammation, decrease ulcer size, fight virus and bacteria that cause infections, strengthen your immune system.
You can drink it plain or add it to smoothies, cereal bowls, popsicles, and ice cream. It is also commonly served with traditional dishes like appam and idiyappam.
It adds flavor and creaminess to savory recipes like curries and soups, as well as sweet dishes like puddings, rice dishes, and desserts.
Store it in an airtight container in the refrigerator for up to 2 days. Since it naturally separates, be sure to shake or stir it before each use.
You Might Also Like
Coconut Milk Recipe
Coconut milk is a versatile and popular ingredient, used across various cuisines in both sweet and savory dishes. This milky, white liquid extracted from the white flesh of a mature brown coconut. It is also a tasty and nutritious liquid that can easily make at home from using either grated coconut or coconut pieces. You can use thick or thin coconut milk depending on what you're cooking. Coconut milk can also be used either raw or cooked.
Raw coconut milk is used in many recipes for its taste and nutritional value. Examples include drinking it plain, smoothies, cereal bowls, popsicles, appam, idiyappam, and ice cream.
Cooking with coconut milk adds flavor and creaminess to many sweet and savory dishes like curries, puddings, desserts, rice dishes, and soups.
Give these other drinks a try: Coconut milk carrot smoothie, coconut mik beetroot smoothie, low calorie raw tomato smoothie, simple chia lime water, green juice with chia seeds.
Ingredients
- 150 grams Small pieces/Grated coconut
- 300 ml water
Instructions
-
Choose good quality Coconut
Pick coconuts: That are with good amount of liquid, feel heavy for its size, eyes should look clean and dry.
Avoid coconuts: That are with cracked shells, any signs of mold around eyes. After crack open the coconut the smell should be pleasant and flesh color should be white. If the coconut smells unpleasant and change in flesh color then discard.
-
Cracking Open the Coconut
Place the bowl. Hold the coconut with one hand over the bowl. Hold the hammer/mallet on other hand then carefully tap the coconut along its equator. Rotate the coconut as you tap and continue to tap until it cracks open in to two halves.
-
Removing the Flesh and Brown Skin
After crack open the coconut, using sharp knife to remove the coconut flesh from the outer shell. Then using the sharp knife/peeler to remove the brown skin from all the coconut pieces.
Why remove the brown skin? Leaving the skin on can give your extracted coconut milk a slightly bitter taste. Removing it ensures a sweeter flavor.
-
Rinsing and Chopping
After peeling, place the coconut pieces in the strainer and rinse under running water.
If larger pieces of coconut present, then chop them in to small pieces because it will make easier for the standard blender to handle.
-
Warm the water
Pour your water into a pan and place it over medium heat. Let it heat for about 2 to 3 minutes until it is warm to the touch.
Warm water helps release the natural oils and fats from the coconut flesh more effectively than cold water.
-
Pulse to a coarse grind
Place 150 grams of the chopped coconut pieces into your blender jar. Pulse the blender for a few seconds at a time, repeating the process several times. Until the coconut is coarsely ground.
-
Add warm water and blend fine
Pour 100 to 150 ml of the warm water directly into the jar with the coarsely ground coconut. Blend in short bursts of a few seconds, repeating until the mixture breaks down into a completely fine texture.
-
Squeeze and extract
Place a nut milk bag or a fine cloth filter over a clean bowl. Pour the finely ground coconut into the filter, using a spatula to scrape down the sides of the blender jar so nothing is wasted. Gather the edges of the cloth and squeeze it firmly with your hands to press out as much liquid as possible.
The Result: The rich, creamy liquid collected in your bowl is your first extraction, traditionally known as thick coconut milk.
-
Return the Pulp to the Jar and Re-Blend
Take the squeezed coconut pulp out of your nut milk bag or cloth filter and place it back into the blender jar.
Next, pour an additional 150 ml of warm water in with the pulp. Grind the mixture in short bursts for a few seconds at a time, repeating several times until the water and coconut are completely and well combined.
-
Squeeze and extract again
Set your cloth filter or nut milk bag back over a clean bowl. Pour the mixture in, using a spatula to scrape any remaining pulp from the sides of the jar. Gather the cloth and squeeze it firmly with your hands to extract all the liquid.
The Result: The lighter, more fluid liquid in your bowl is your second extraction, traditionally called thin coconut milk.
-
Coarse Blend (Dry Pulse)
Place your 150 grams of chopped coconut pieces into a standard blender jar. Pulse the blender in short bursts for a few seconds at a time until the coconut breaks down uniformly into coarse pieces.
-
Fine Grind (First Water Addition)
Pour about half of your warm water (approximately 150 ml) into the jar with the coarse coconut. Blend in short bursts for several seconds, repeating until the coconut completely breaks down into a fine texture.
-
Final Extraction (Remaining Water)
Add the remaining 150 ml of warm water directly into the jar. Blend everything together well in one final go to fully combine the liquid. Once blended, simply pour the mixture through your cloth filter or nut milk bag and squeeze firmly to extract your thin coconut milk.
Note: Because this method combines all the water into a single pressing, a second extraction is not needed. The leftover pulp can simply be discarded, or it can be saved for other culinary uses—such as drying it out to make coconut flour, mixing it into baking batters, or adding it to your morning smoothies—as the maximum amount of thin milk has already been captured.
-
Match Jar Size to Quantity
For large quantity of coconut pieces : Use a large jar. If only a small jar is available, blend the coconut pieces in several smaller batches to prevent motor strain and achieve a consistent, fine texture.
For small quantity of coconut pieces : Use a small jar. A large jar won't work well because the blades will miss many coconut pieces, resulting in an uneven texture.
-
For Proper Blending
Varying speed for fine consistency : Begin processing at a low speed to initially break down coconut pieces into smaller pieces. Gradually increase to a high speed to achieve a uniform, fine consistency.
Start with a Small Amount of Liquid: To achieve the fine texture, never dump all your liquid in at once. Start by adding just a minimal amount of warm water to the blender jar. Blend this into a thick, fine texture first, slowly adding water in small increments if needed. Once that smooth, fine consistency is reached, pour in the remaining water and give it a final blend to combine everything perfectly.
Loading rating...
Write a Review
Loading reviews...